eheheahahahha. ohohoho. etc. It’s Halloween time, and that means Spooky Crafting time. Welcome to my lab.

What better celebration than making festive, decorative, throwable skulls? (And then a festive, decorative, safe-to-fight-with scythe.)
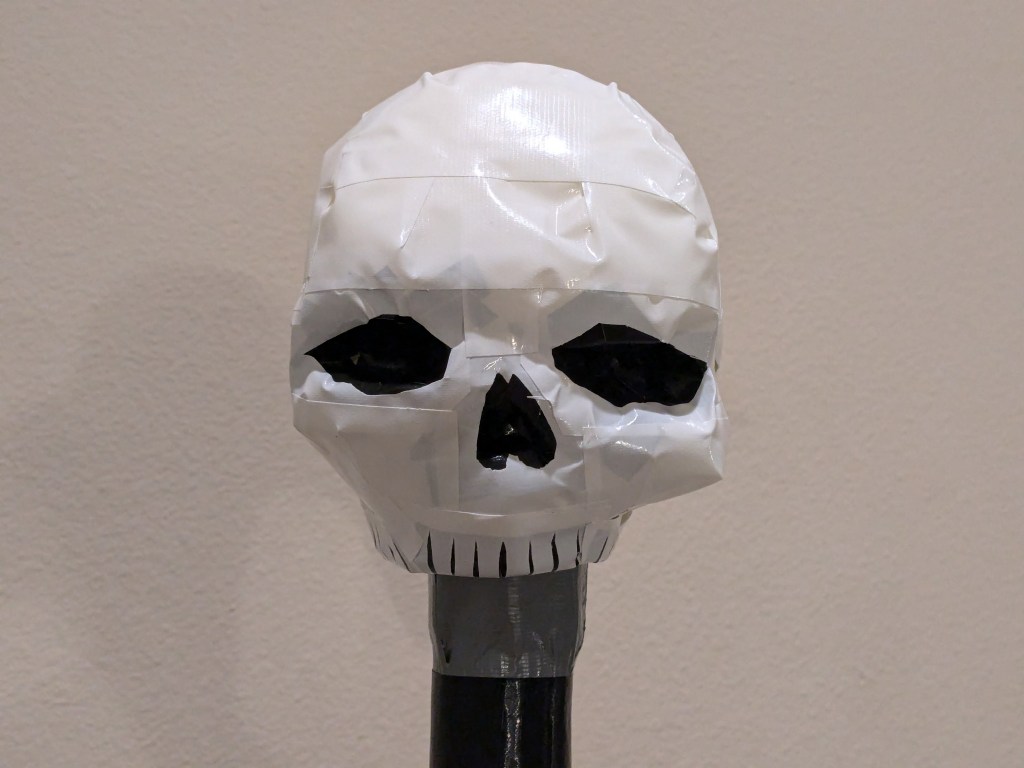
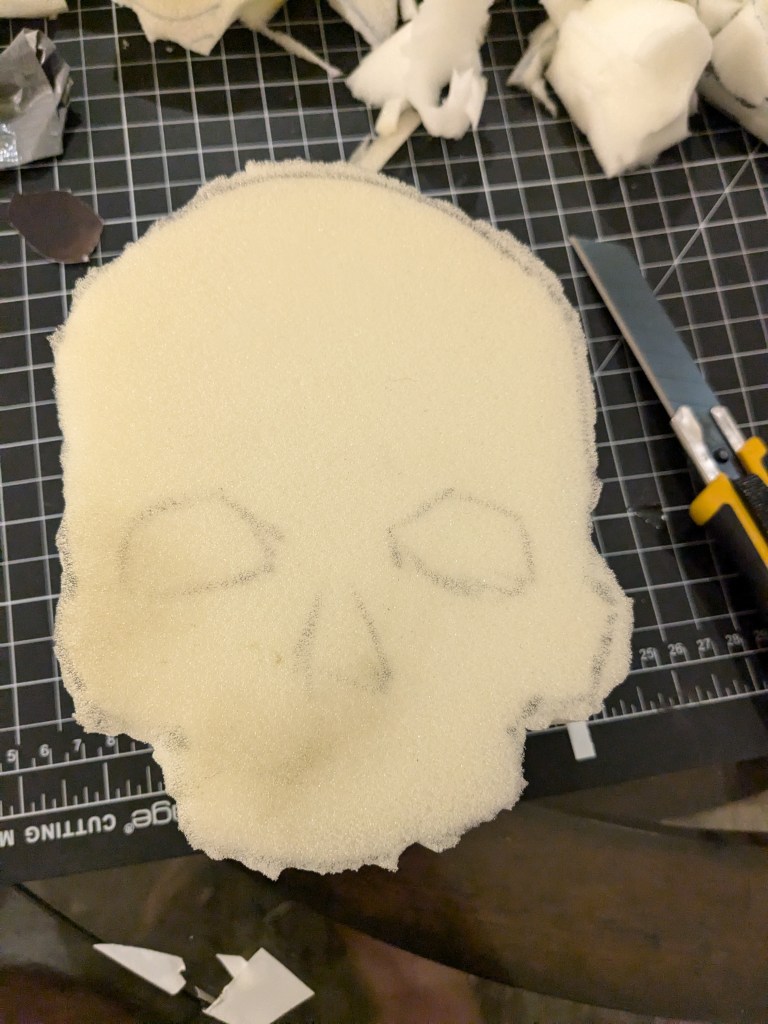
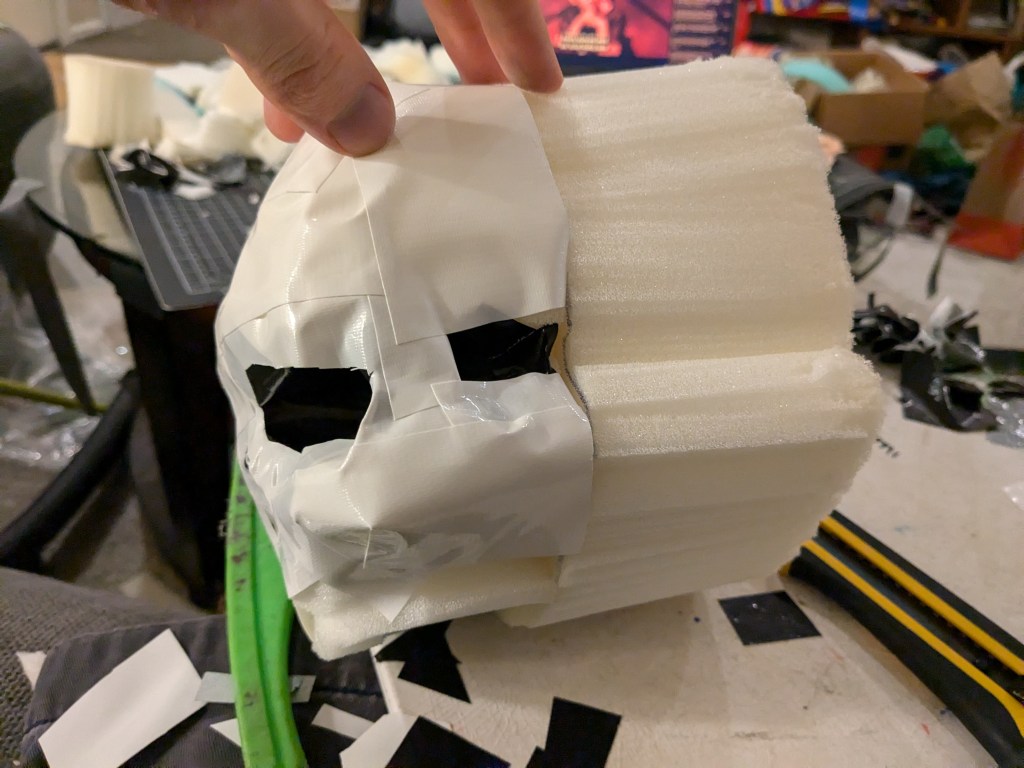
First, you’ve got to carve a skull out of squishy, open-cell foam, and then you’ve got to cover all its complicated 3D features with duct tape. Both of these steps are immensely difficult. Here’s the rough shape the foam is aiming for:

Alas, poor Yorick! I knew him, Horatio
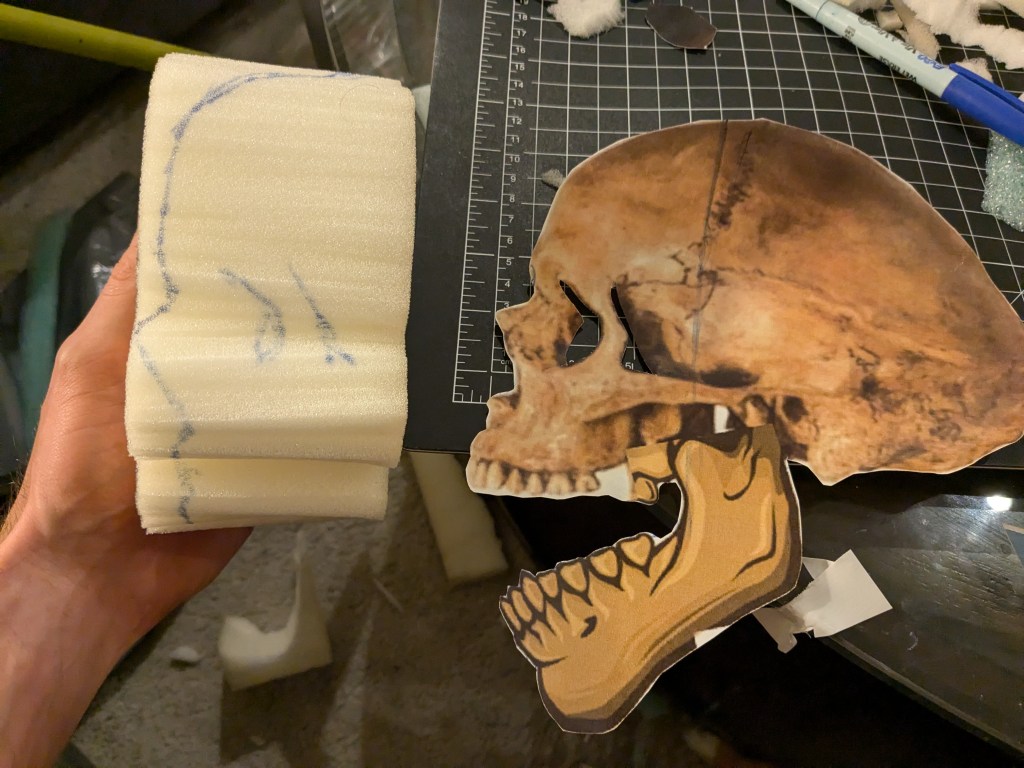
My approach is to print out some reference images, at least one of which is directly from the front, and at least one of which is directly from the side, cut precisely along the outline of these images, then trace them onto those dimensions of the foam block. (I’ve got 4″ foam to work with, so the front half the the skull can get on one piece, and the back on another.)
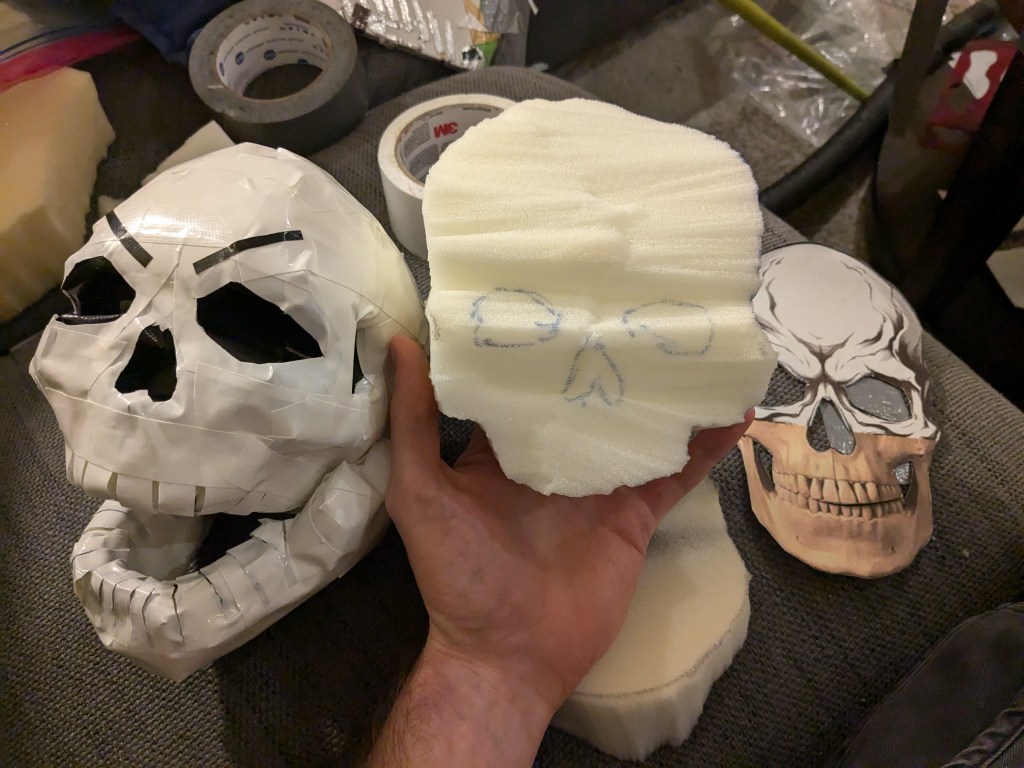
Then are all the 3D features. I decided to simplify it somewhat, but still wanted to get the cheekbones, the nasal cavity, the orbit, the recess of the sphenoid bone, and some other details that utilize words typically only found in a medical lecture or a Locked Tomb novel. Basically, I wanted it to be reasonably skull-shaped, which is complicated, and there’s no shortcut to just visualizing it carefully from the reference pictures and going for it with a sharp knife.
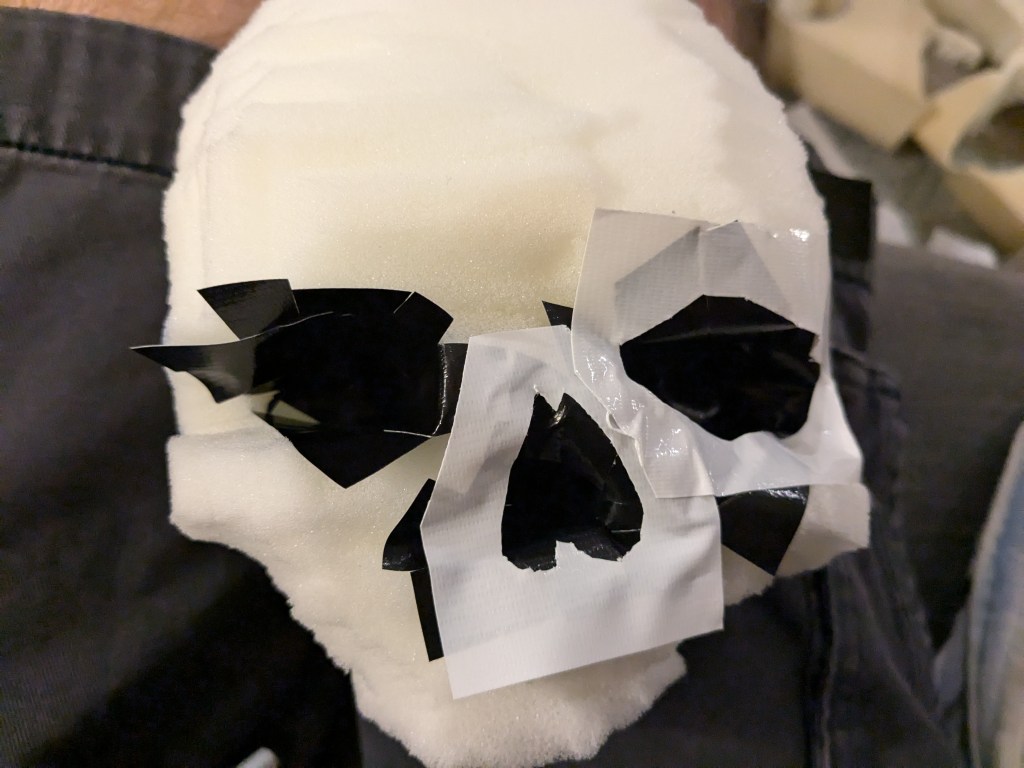
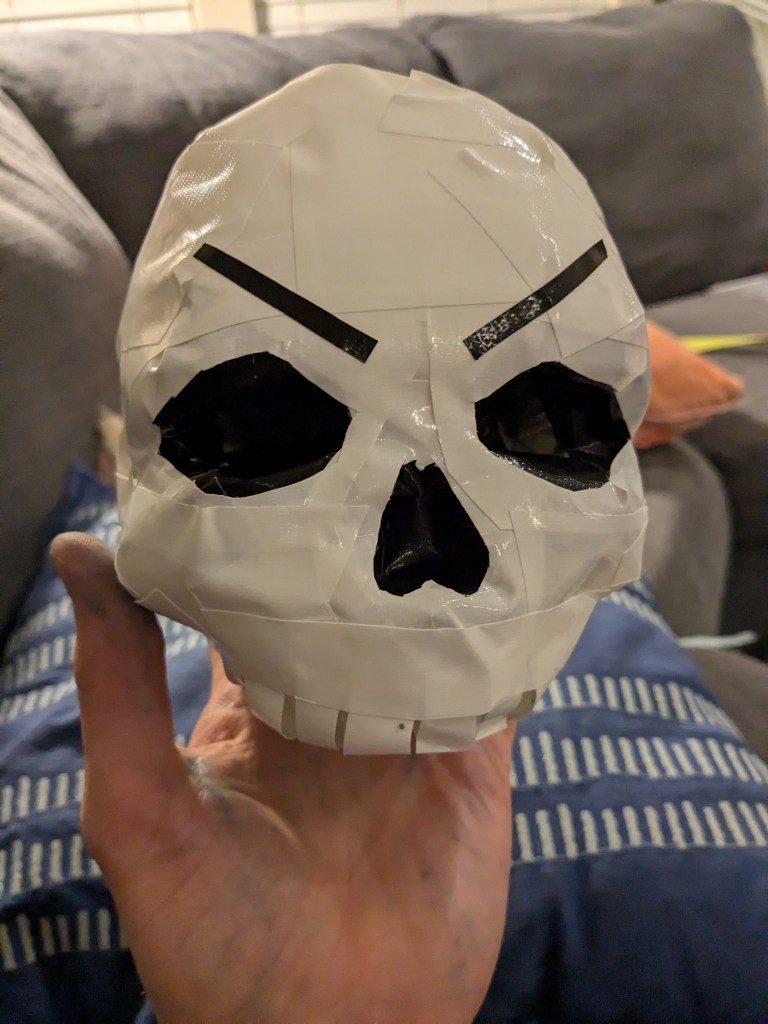
Taping all these cavities requires folding the duct tape within these squishy voids without getting it stuck to itself anywhere. For the jawed skull’s jaw, I used an exaggerated reference because I wanted to use the idea of a spooky-but-jolly guy who’s yelling in the usual high-pitched skeleton voice while hurtling through the air at his target.
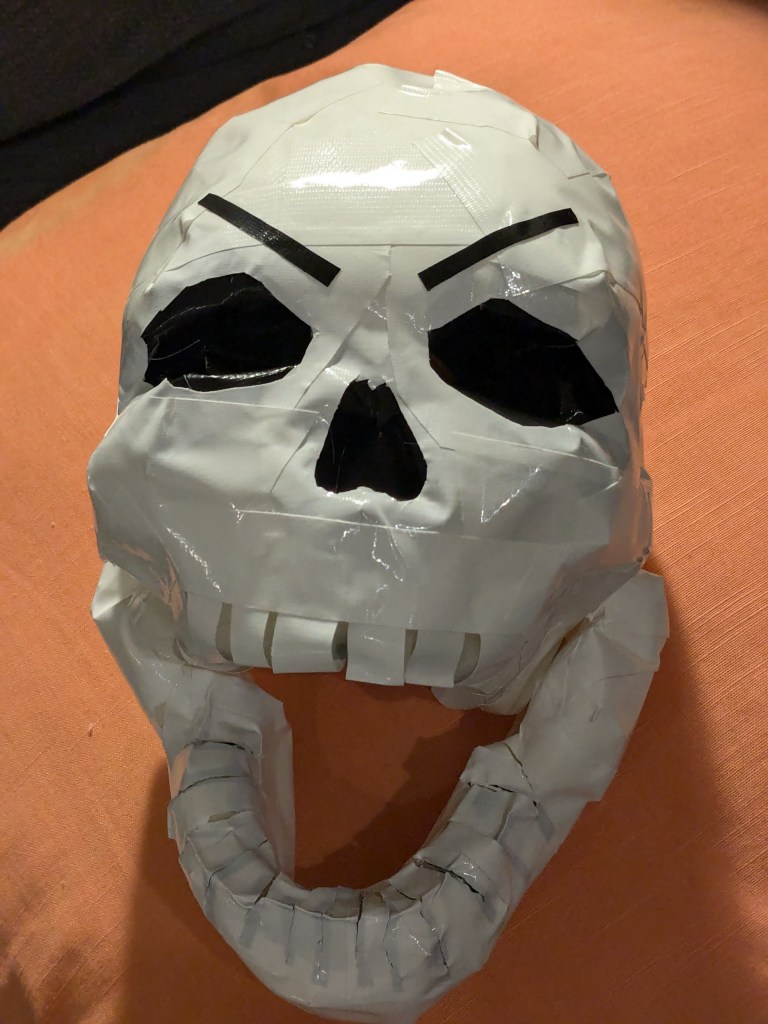

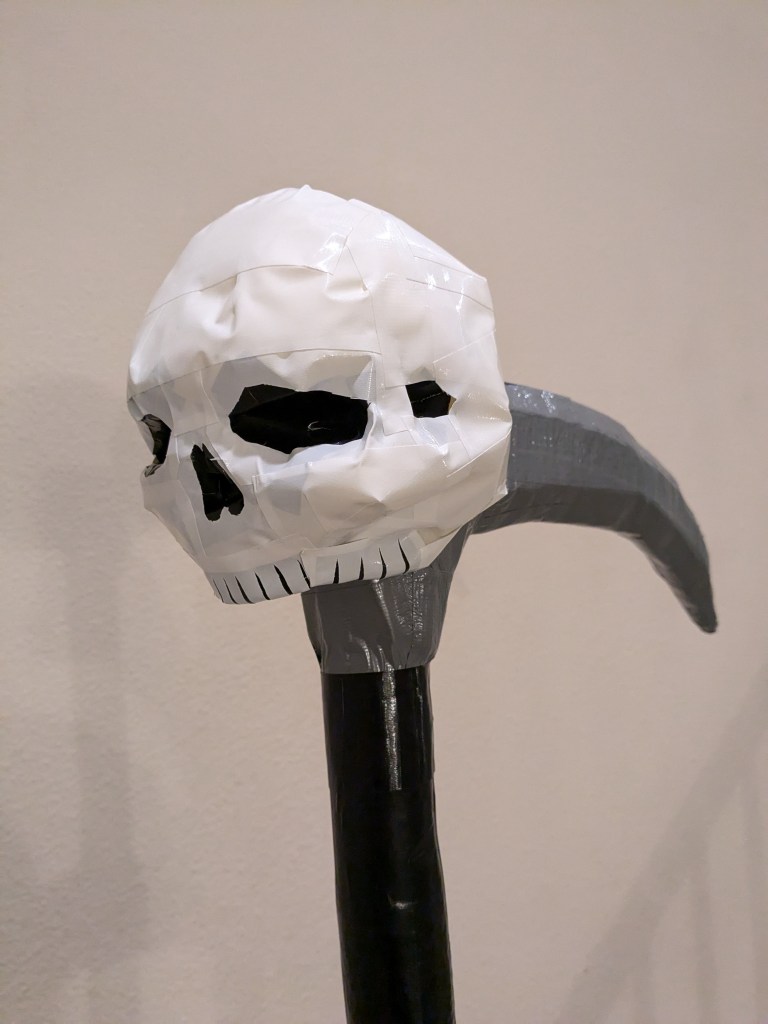
I love this skull guy prop. I think I’ll call him Grumpy. Anyway, on to the scythe.
Several people had mentioned to me, “ooh, Nico, what would be really cool would be to make a scythe, that sounds quite tricky,” which struck me as a great idea, because (a) I thought it actually sounded straight-forward, and (b) it’ll be a nice contrast to my usual approach of doing builds that are harder than they look.
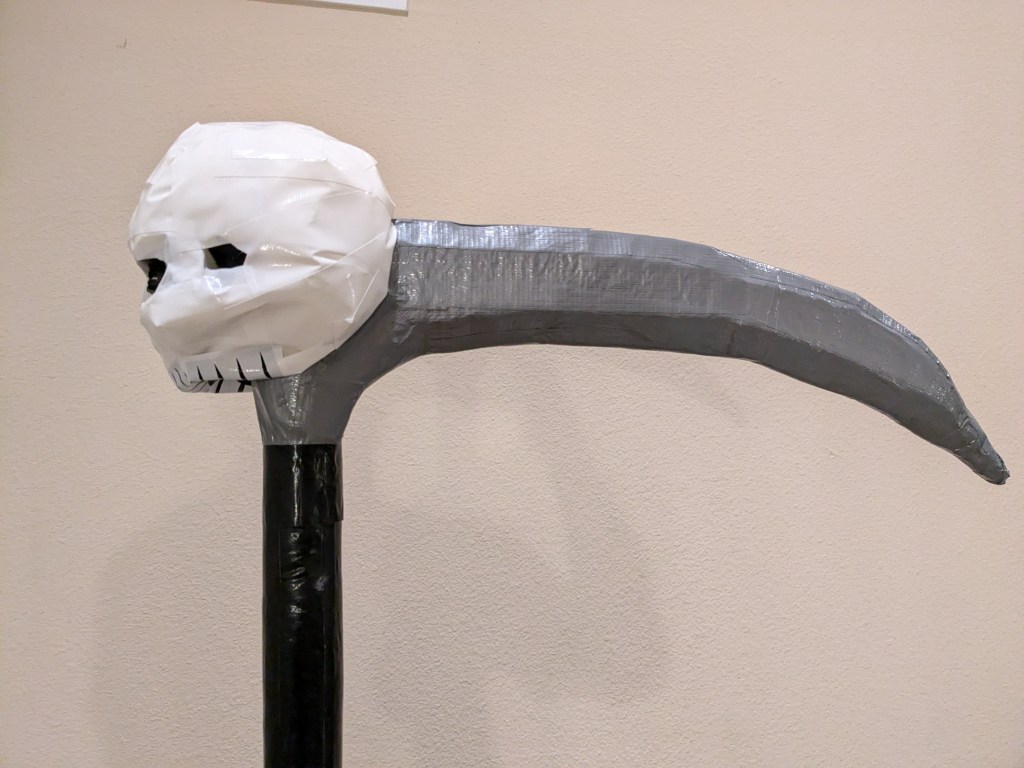
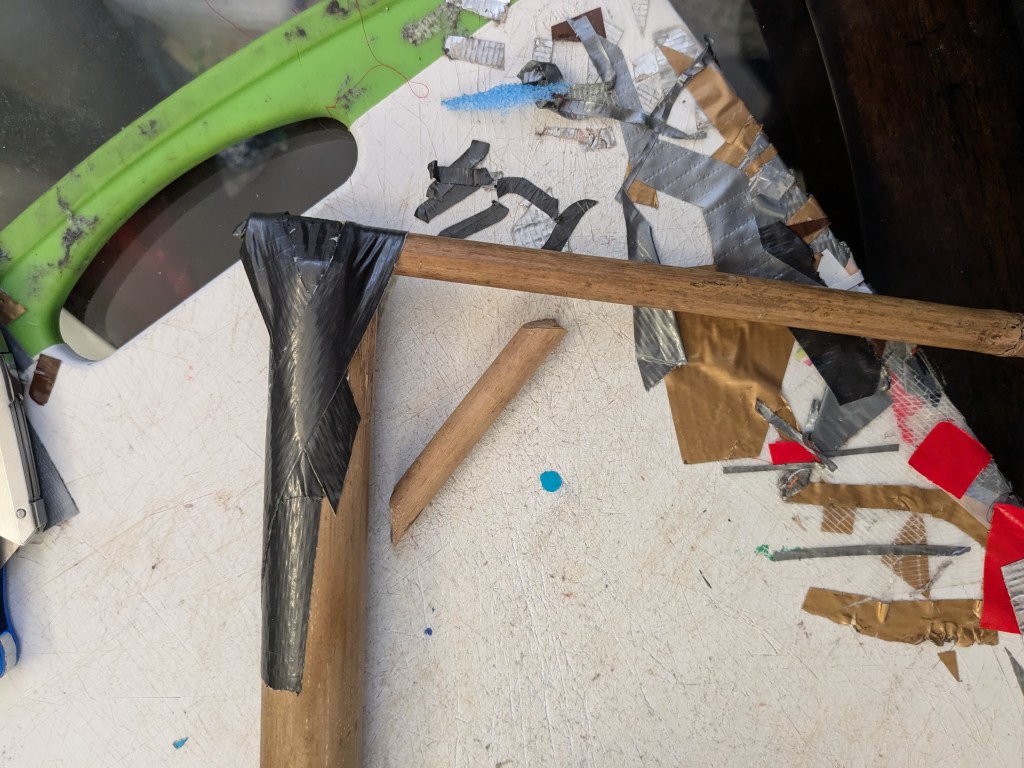
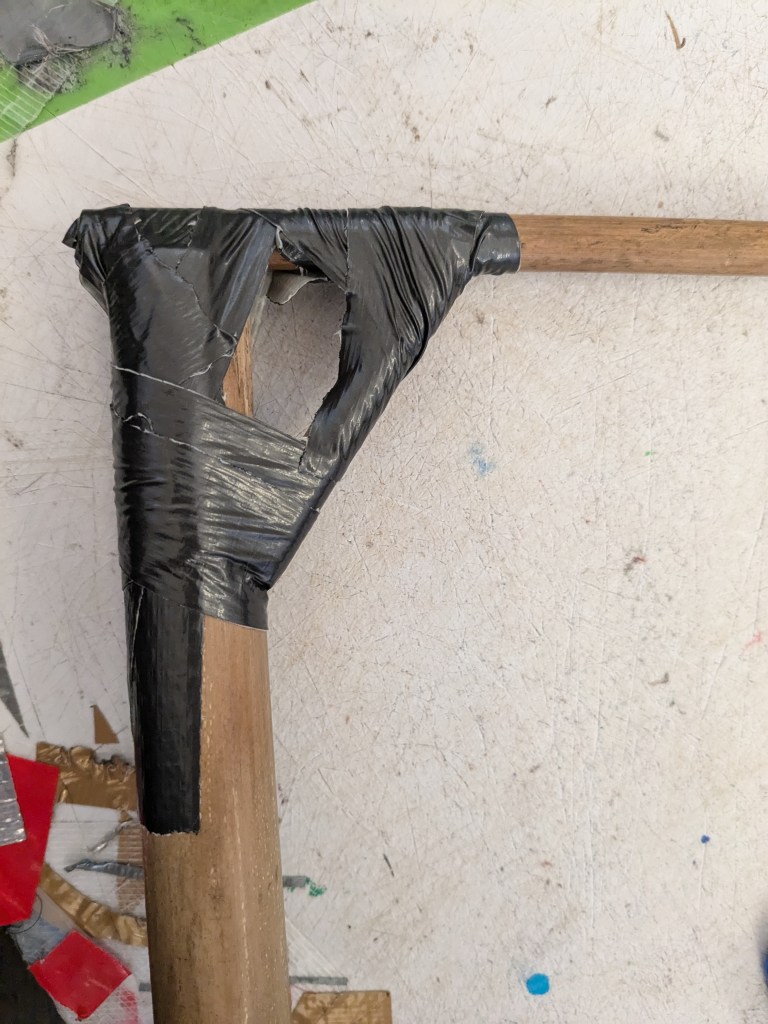
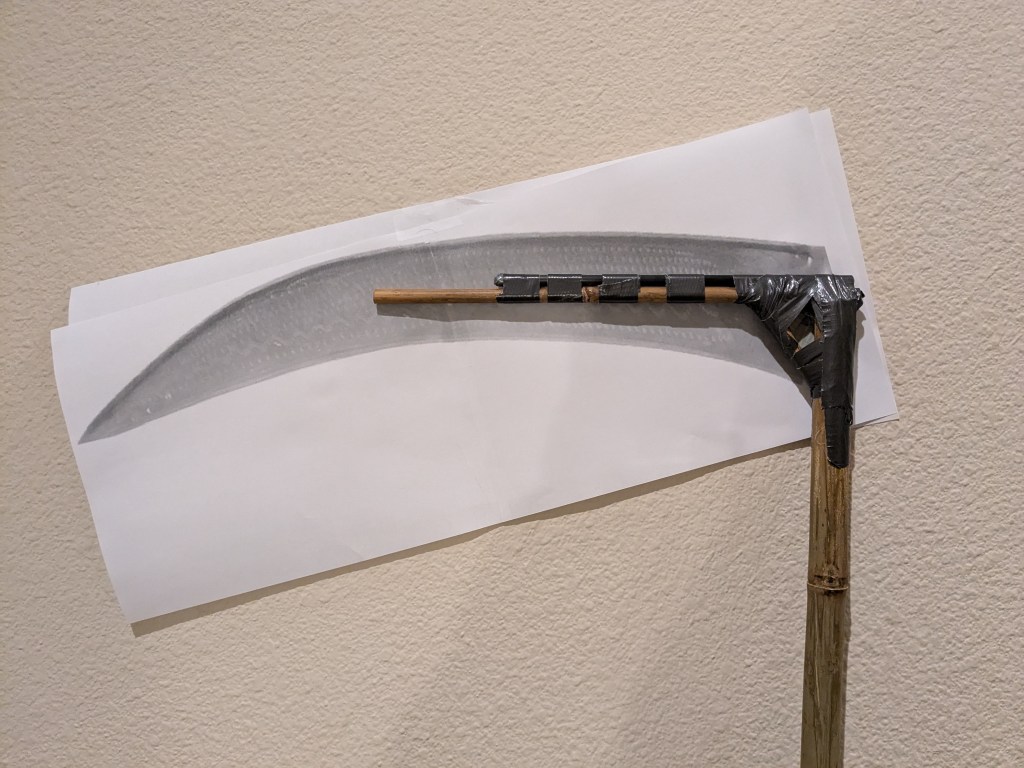
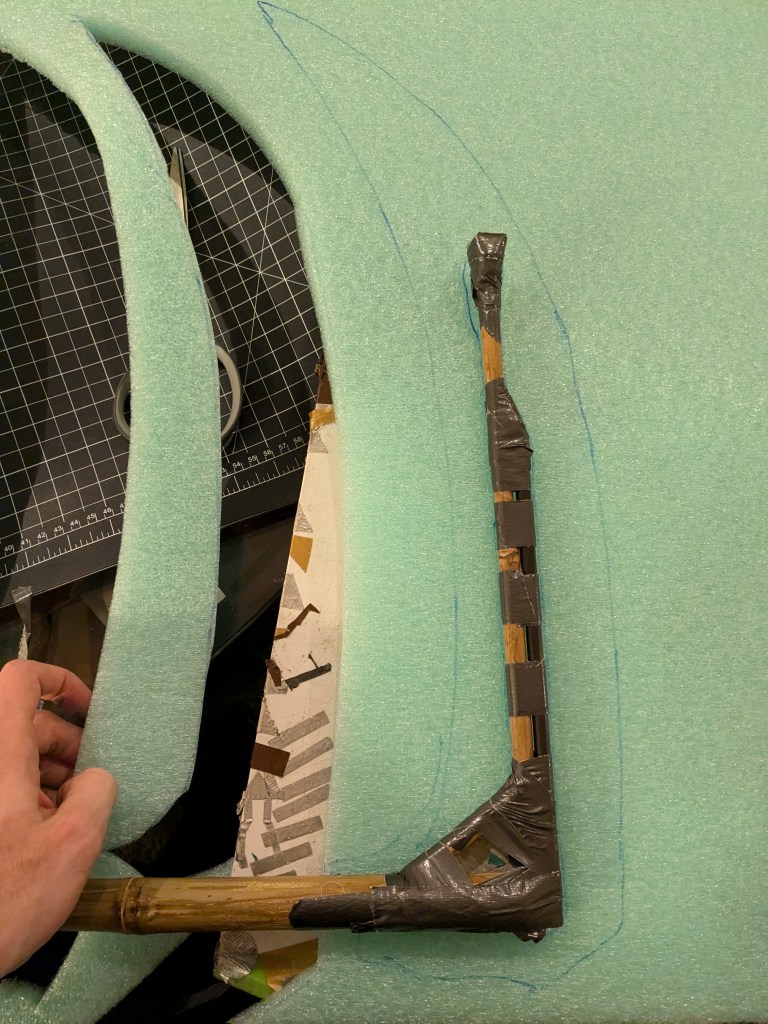
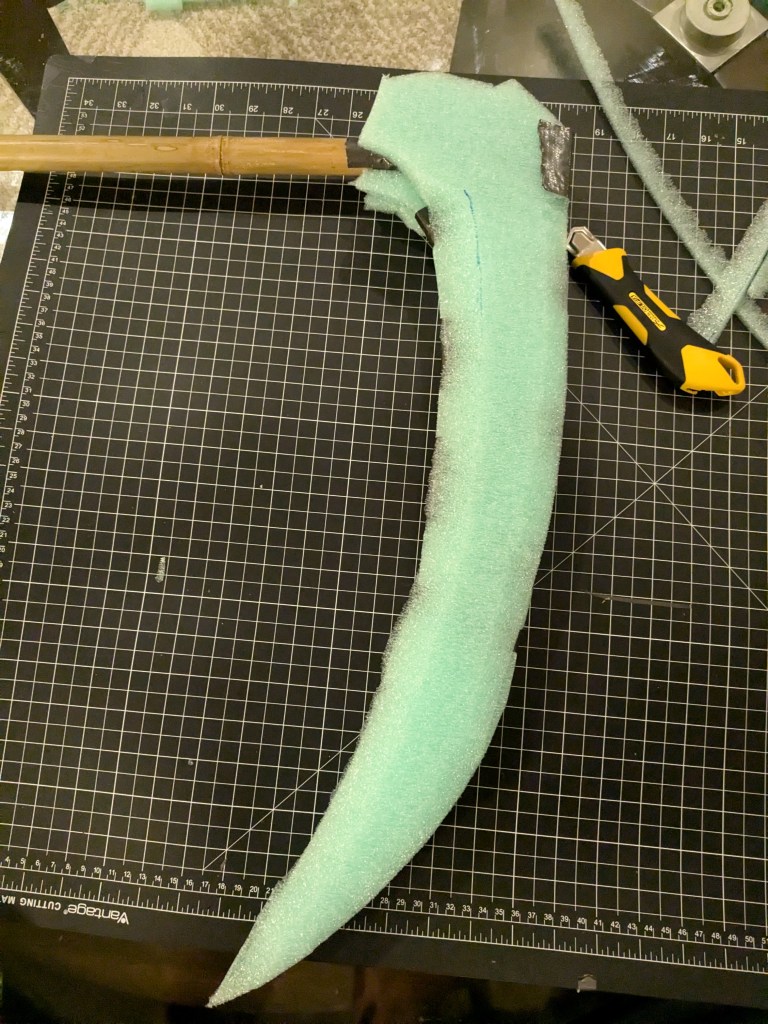
Two essential insights: You can put the blade core along the top of the main bamboo haft core, which gives it a nice platform to rest against, and you can use a few inches of a diagonal brace between the haft core and the blade core to achieve plenty of structural stability. You also need to be pretty judicious about tightly positioning the pieces of all-weather duct tape, but that’s not uncommon for unusual builds. (I added a carbon fiber reinforcement to the blade core, too.)
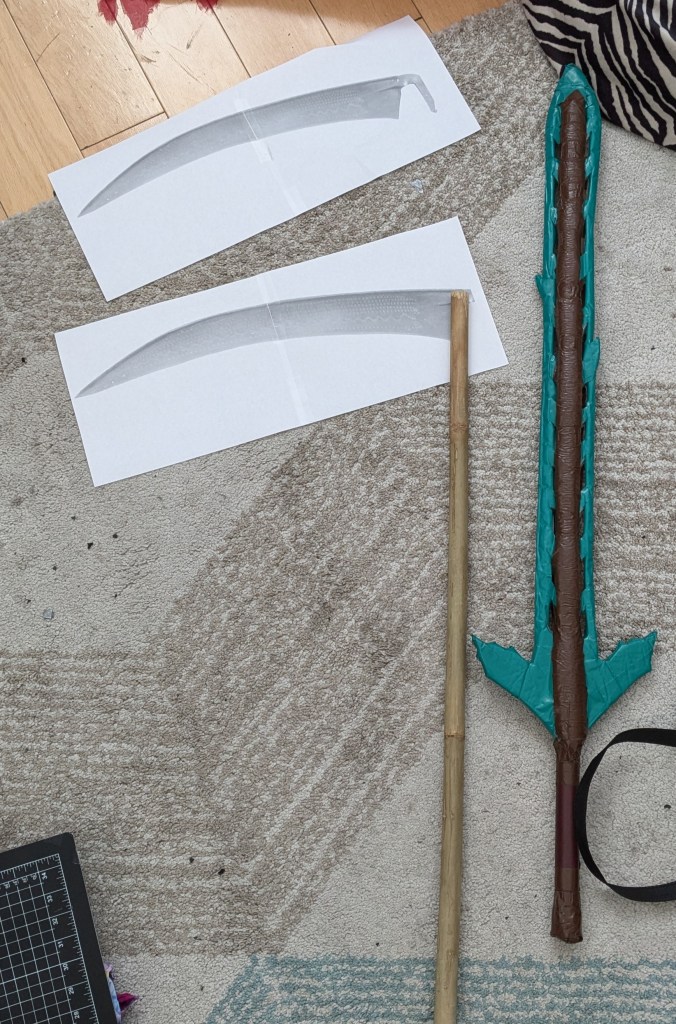
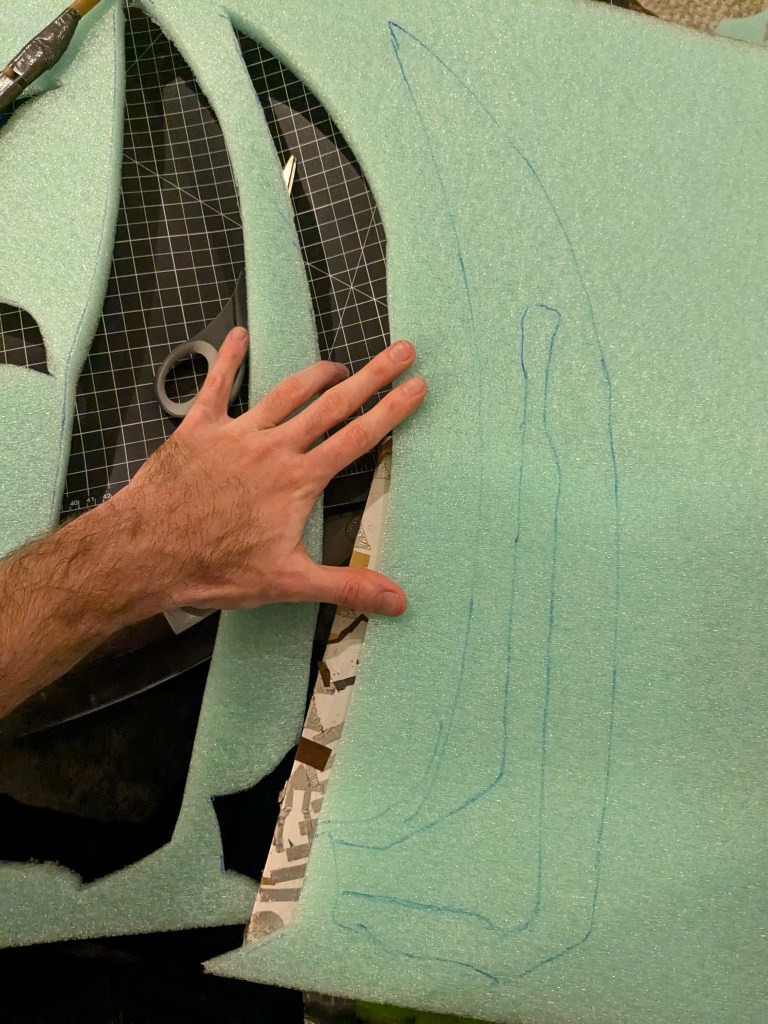
I use a print-out of the blade concept to check the design, positioning, angle, and scale of pieces for a lot of builds and at many stages, but I don’t often include it in process photos. In this case, it helped me decide to subtly adjust the size and width of the eventual blade.
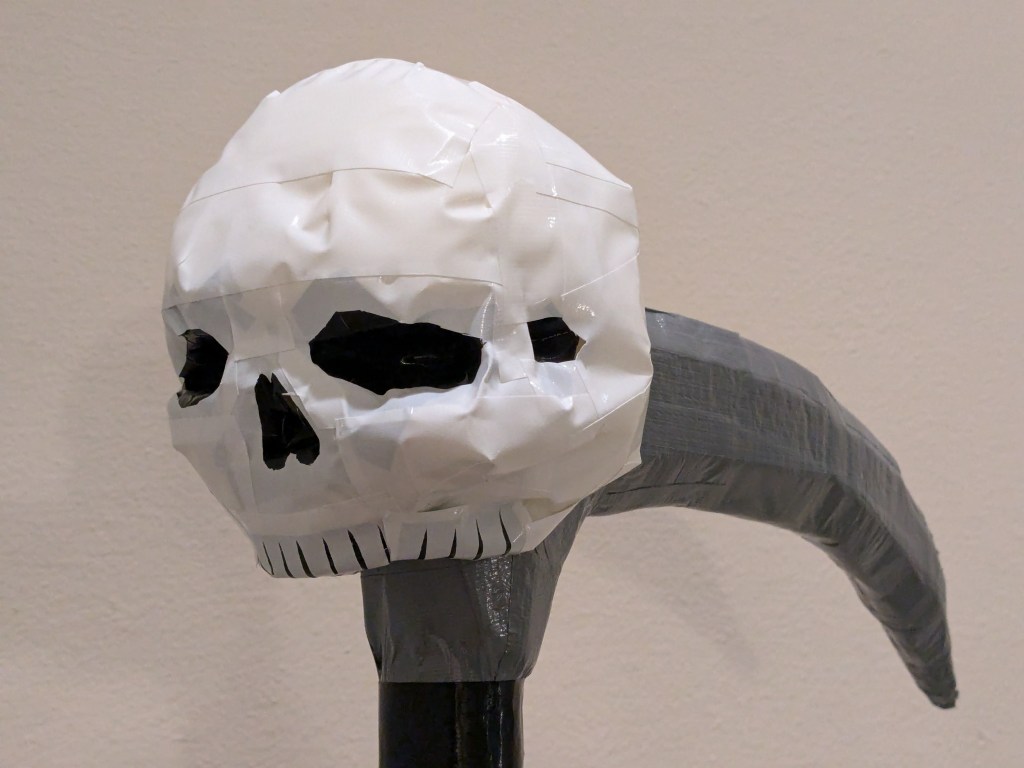
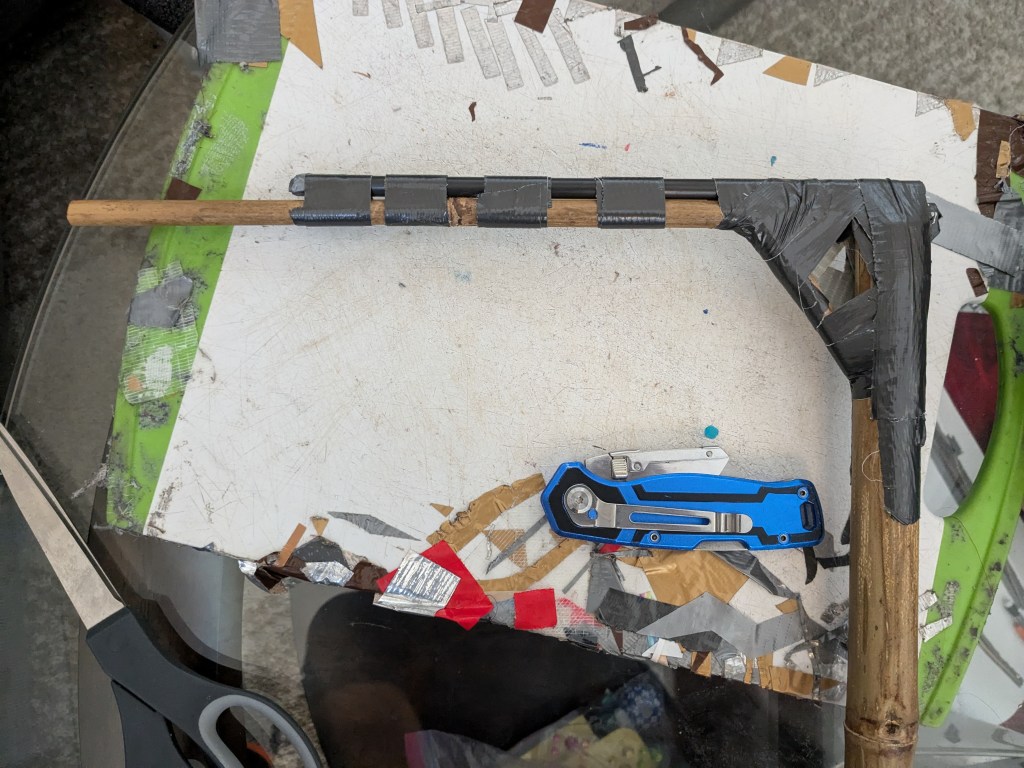
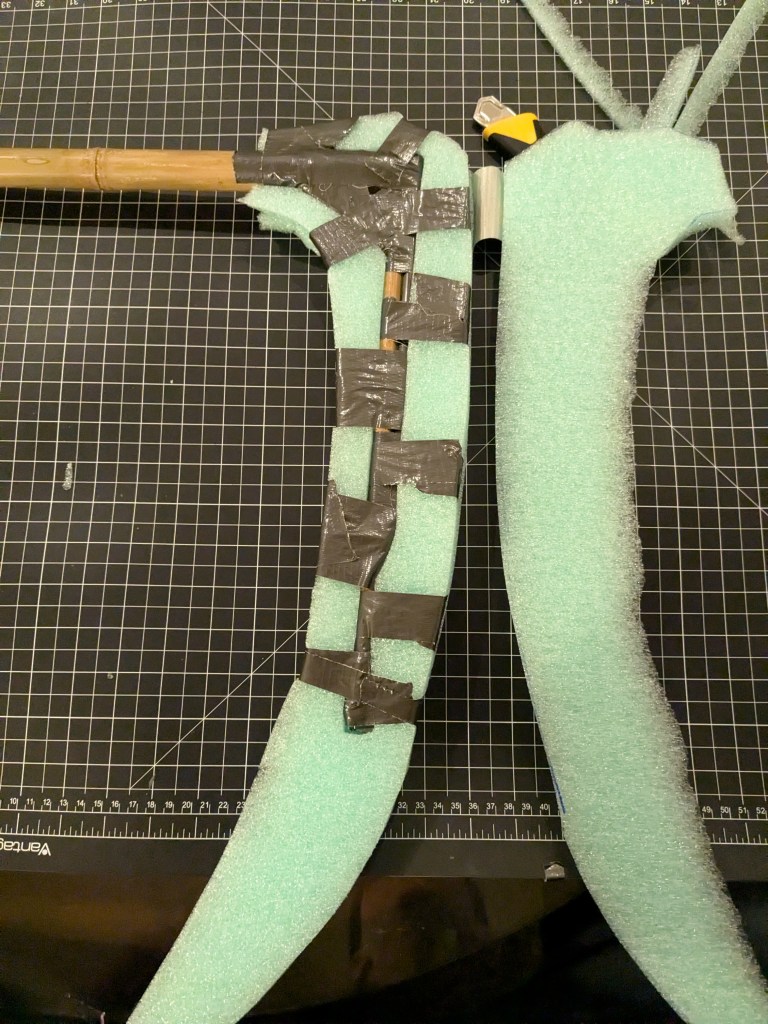
The blade is cut from three layers of 1/2-inch 1.2LB closed-cell polyethylene foam. The middle layer has the entire structure of the core traced and cut out so that it fits snugly around the core, while the side pieces fit alongside. All have edges beveled. Note, also, the series of opposite-facing slices of tape holding the core securely to the central foam piece, which looks easy but is actually medium.
The bamboo is covered in the usual 3/4″ foam pipe insulation, secured with the usual spaced alternating strips attached to core, and then covered lengthwise in duct tape. And there you have it. All the Halloween props together. The skull serves both as theater and as a nice padded tip to the pole arm so that it doesn’t have safety problems. Being protected by a skull, just like all the time in real life.