I’ll be going more into the under-the-surface crafting techniques for this one, because my local LARP leagues have been pondering the best ways to make axes.
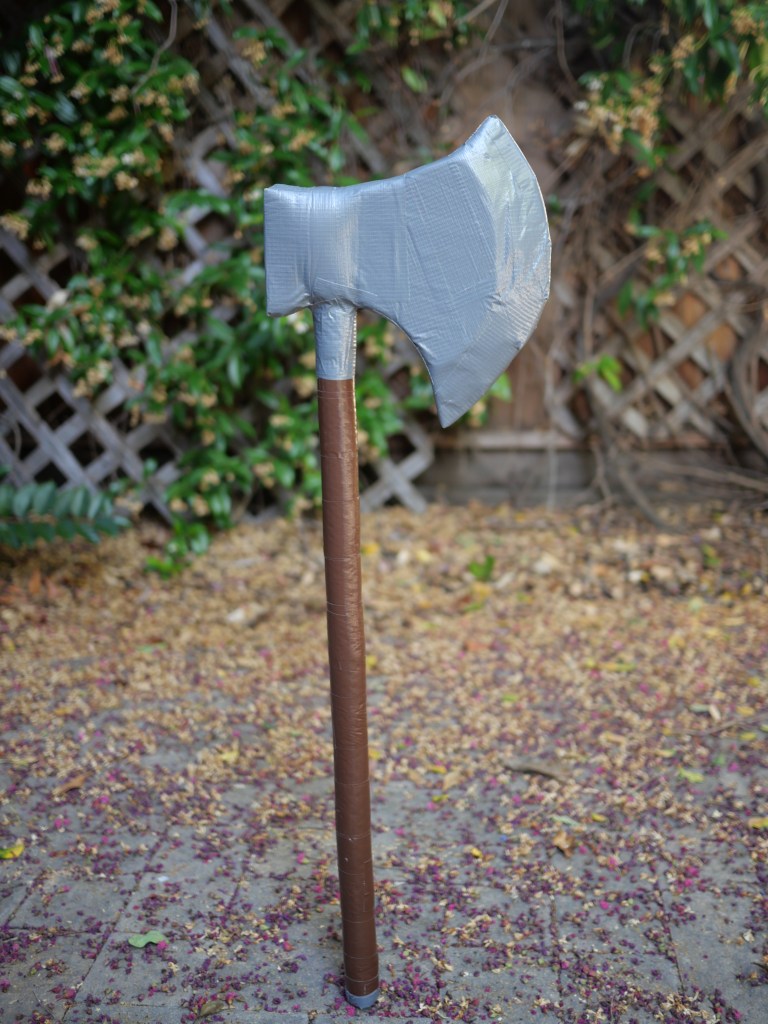
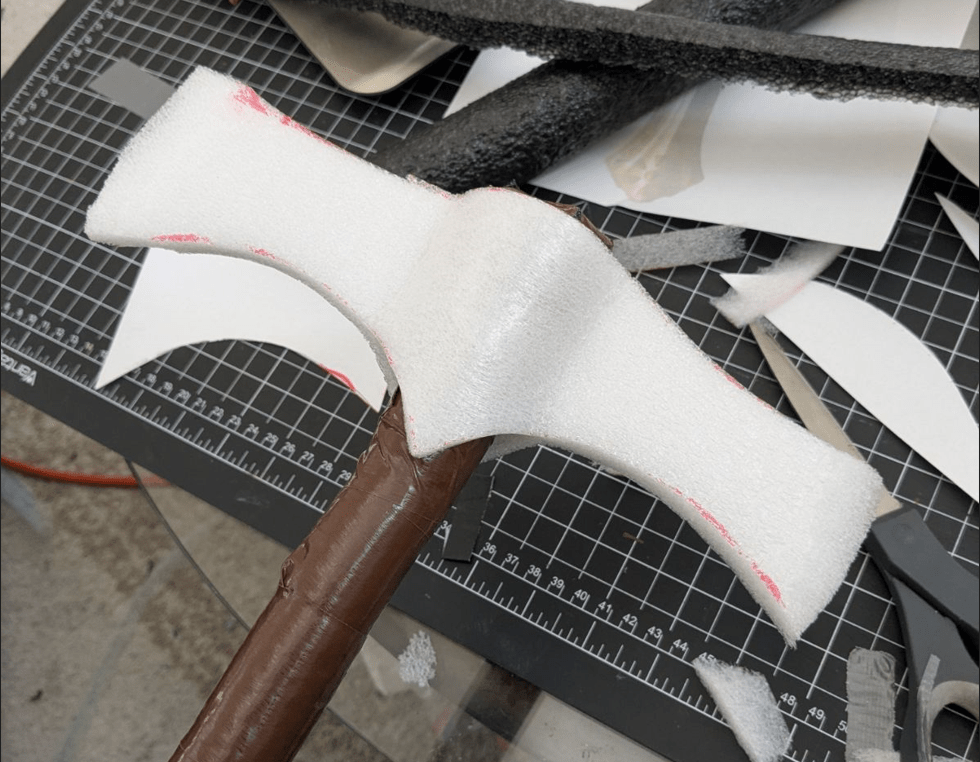
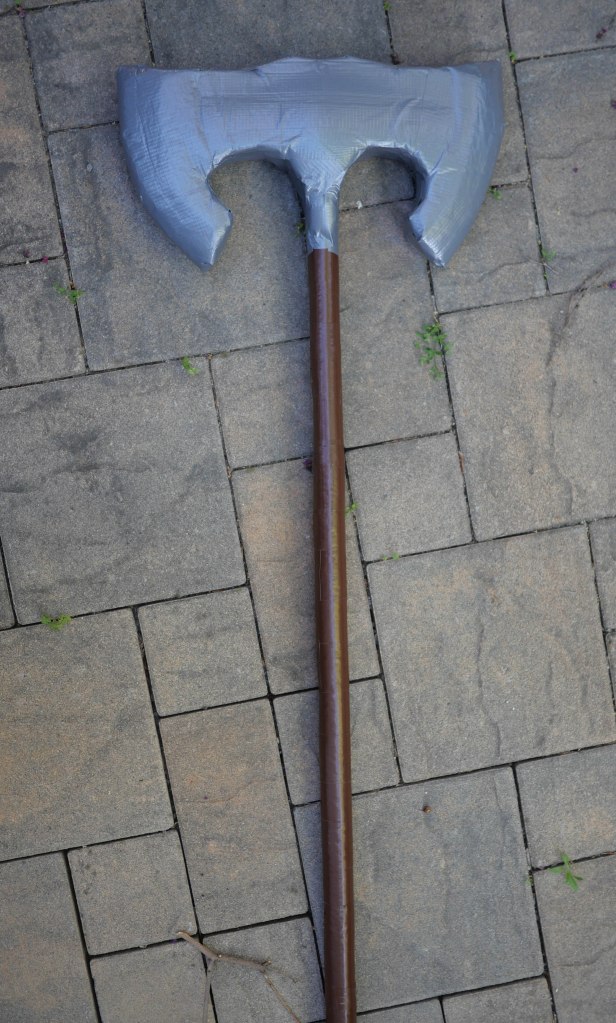
I think there are a few viable options. I’ll start with the technique I used for a smaller, more basic axe, with an axe head that didn’t extend so far from the core. I started with the standard wrapped haft, then cut out the axe head entirely from open-cell foam, then cut a slot into it (on the back, in this case) for it to slot over the haft foam. Important: The haft foam extends all the way up to the top. This allows the open-cell foam to be anchored to it by tape on the top as well, which holds it in place.
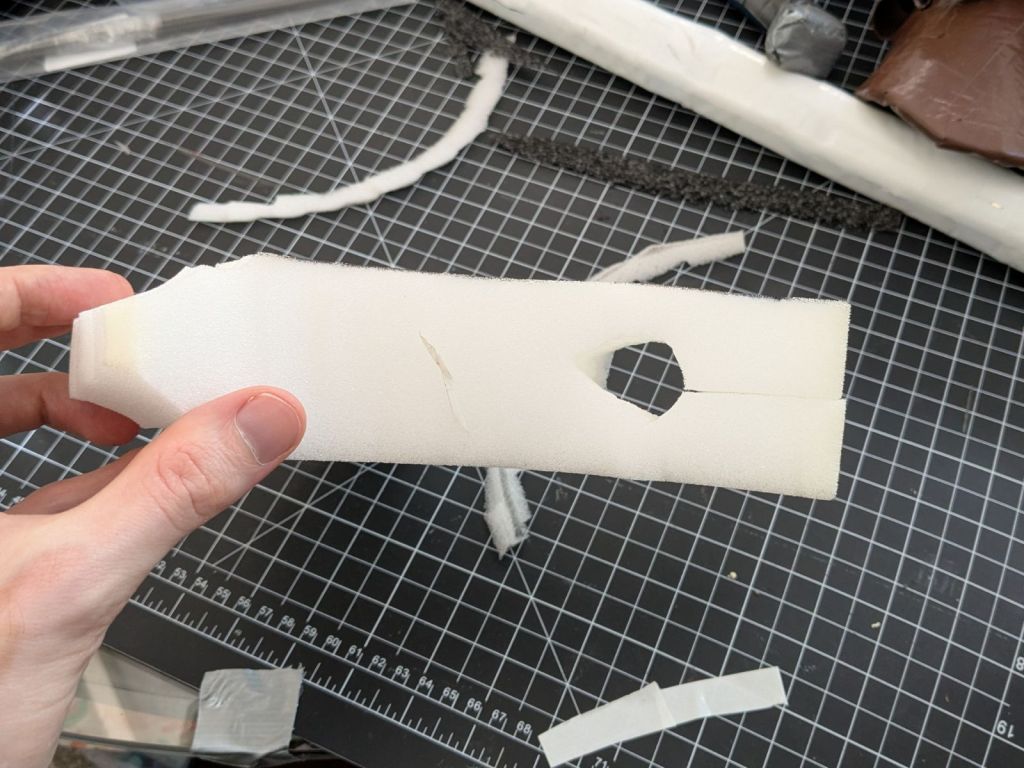
Before fitting the open-cell foam around the haft foam, in addition to the slot I also cut out some of the foam from the center, so that it did not bulge as much when wrapped around. I use a snap-off blade for this.
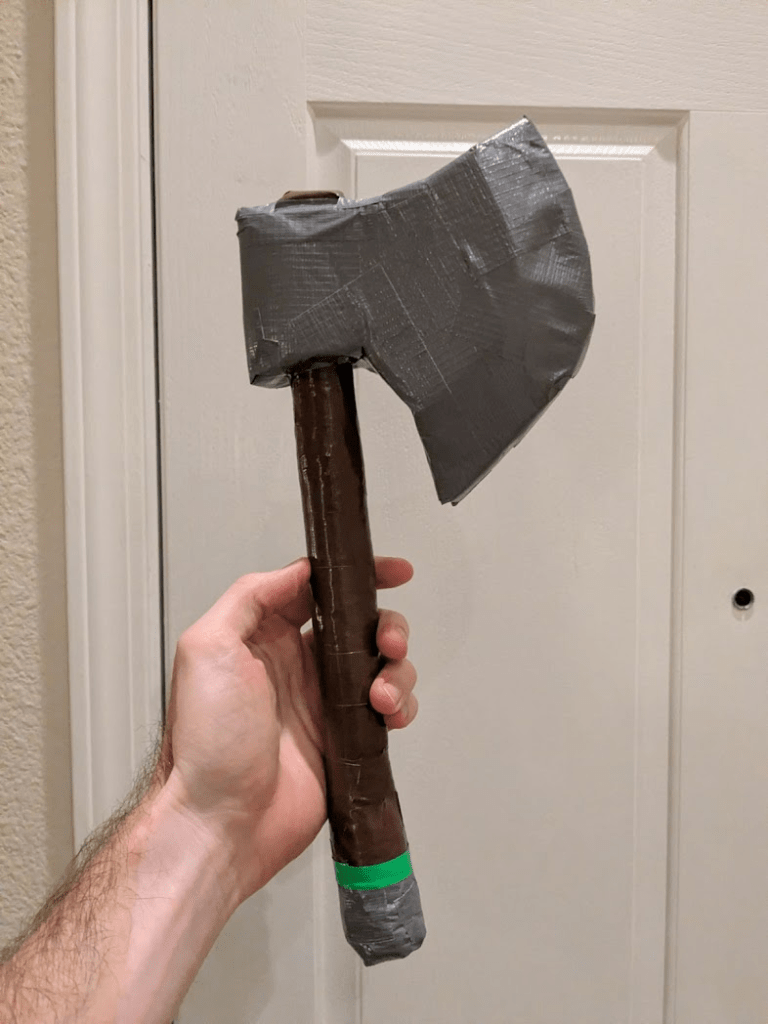
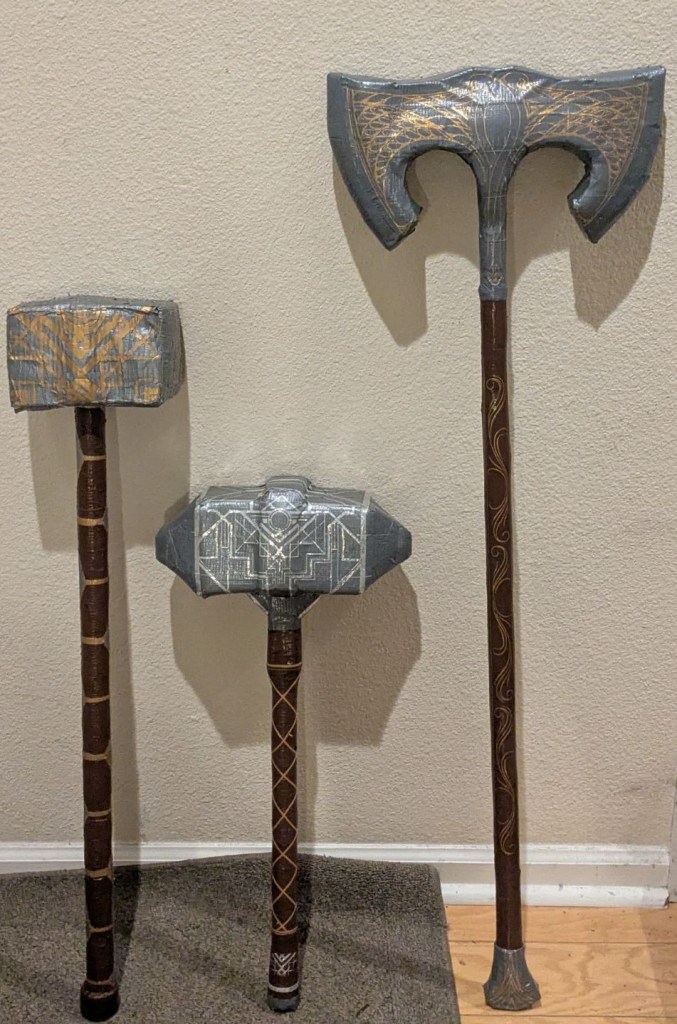
The open-cell foam I use for this is 2 inches thick, which is a good balance for these axes between being somewhat narrow for the appearance and just chunky enough to be well-cushioned and well-supported.
When I used this same technique for a smaller throwing axe, I added a little bit more open-cell foam on top of the haft afterwards, so that every side of the axehead would be covered by open-cell. This also allows it to create the image of the haft continuing through to the top.
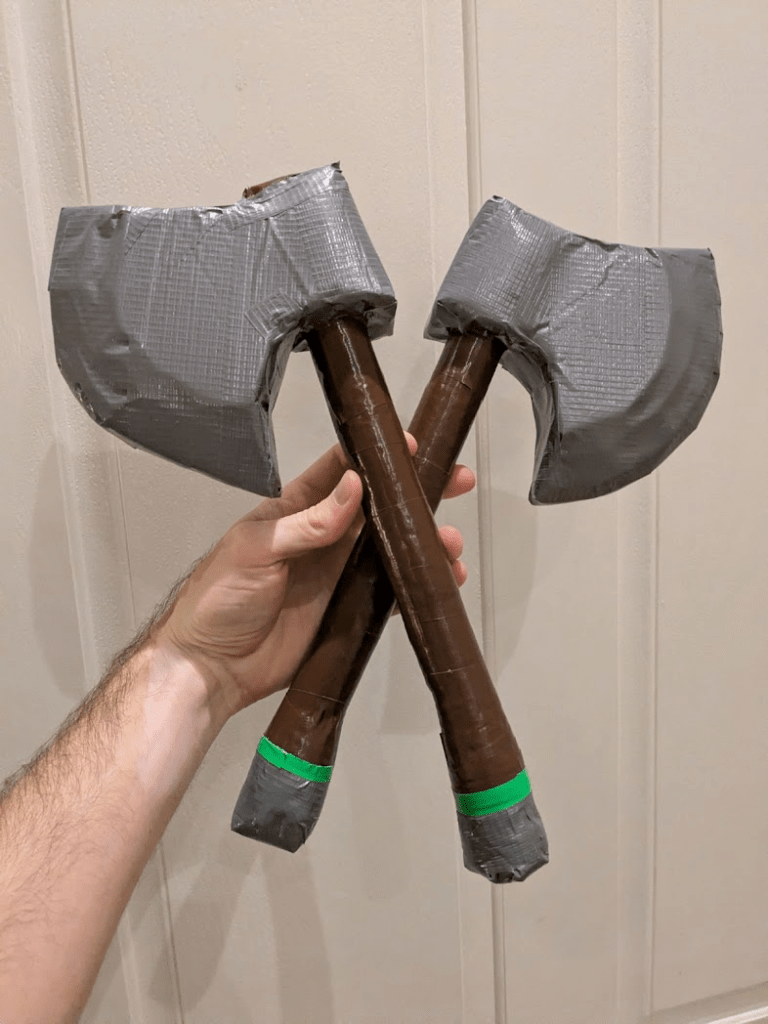
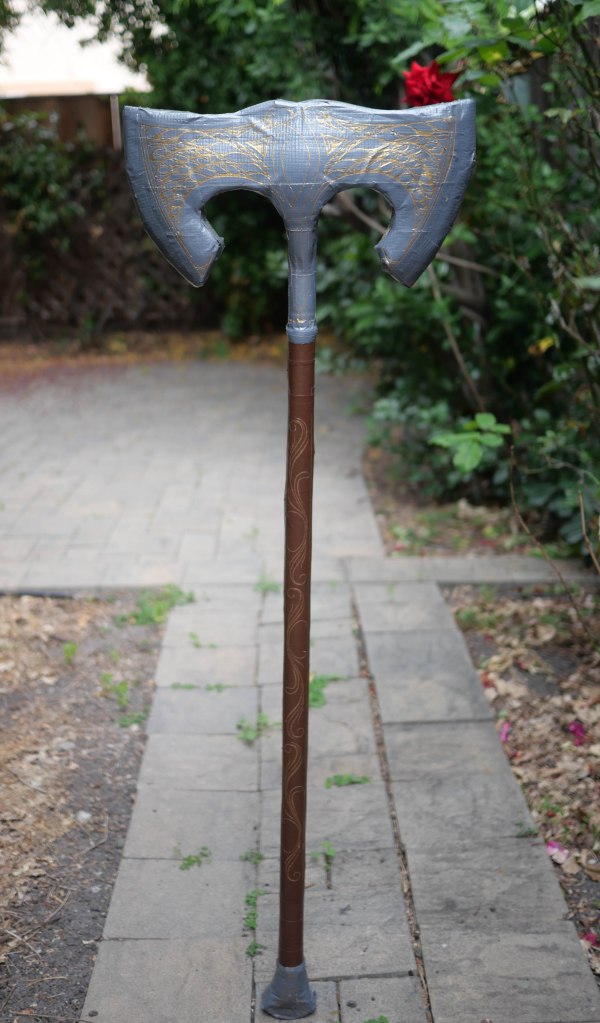
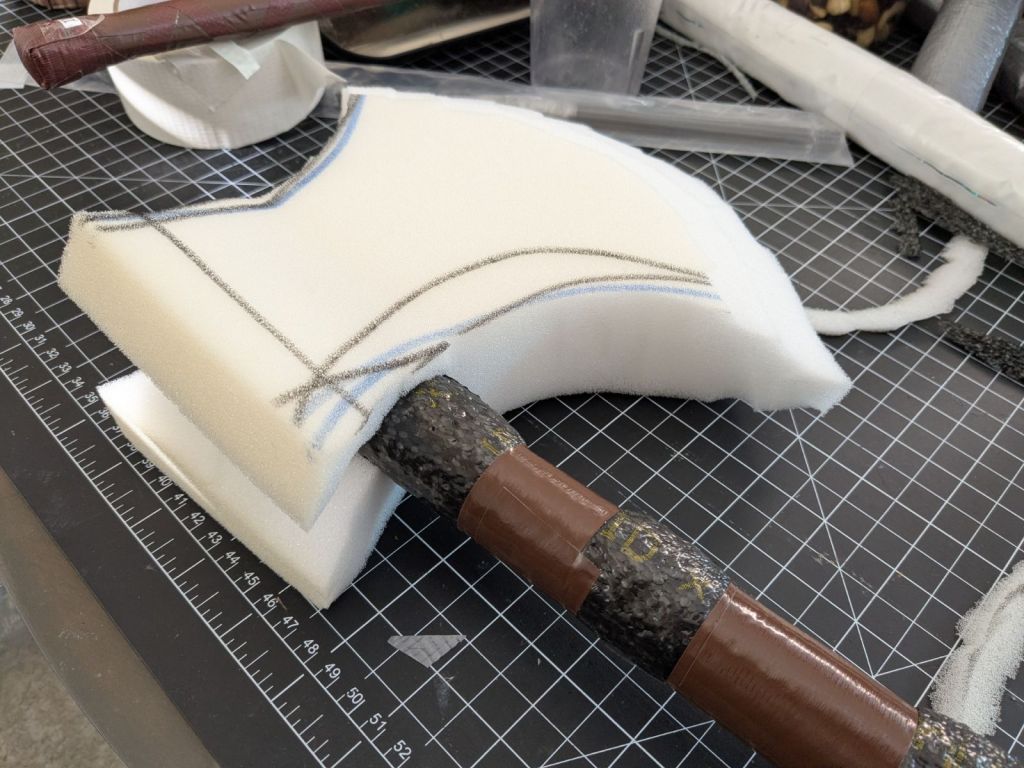
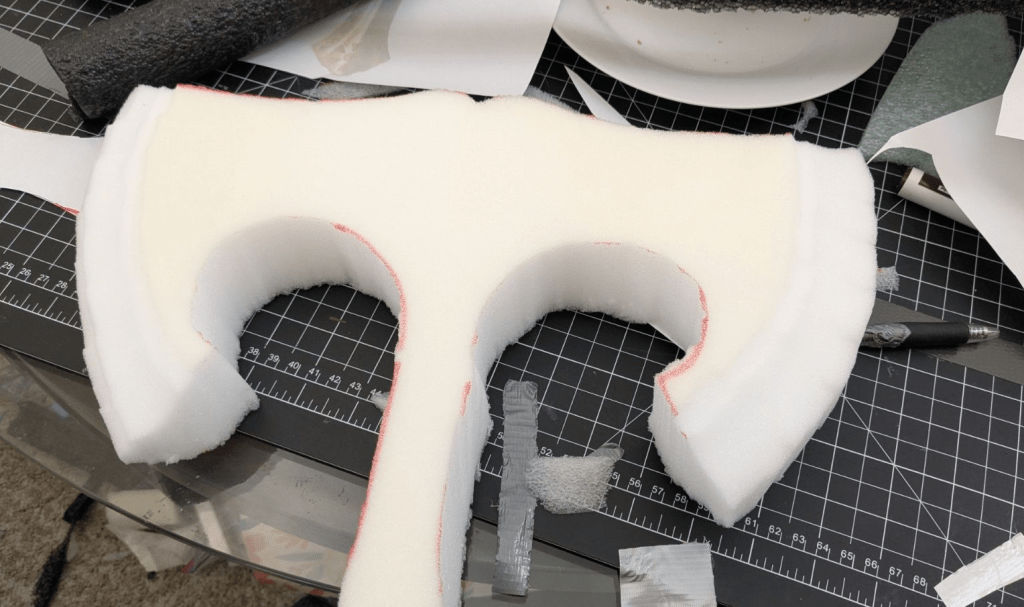
For the larger two-headed battleaxe, I knew I would need to add some more anchoring. Using entirely open-cell foam would potentially make the axe head a bit floppy, or prone to tearing. So I used 1/2-inch 2.2lb-density closed-cell foam to create a central anchor, which the open-cell foam could wrap around. This way, the whole thing is still foam, but with enough reinforcement that the whole thing can’t wobble much. This anchor is split down the middle of its center, fitted over the haft, and securely taped on all sides.
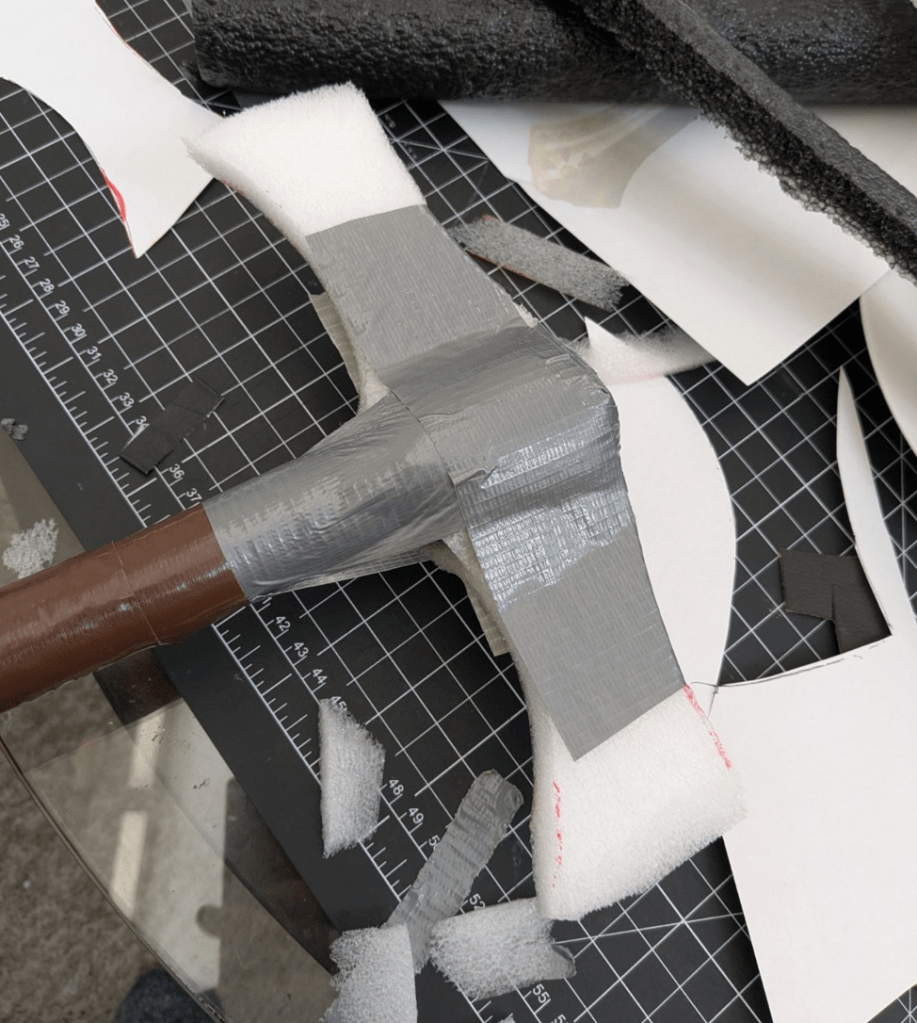
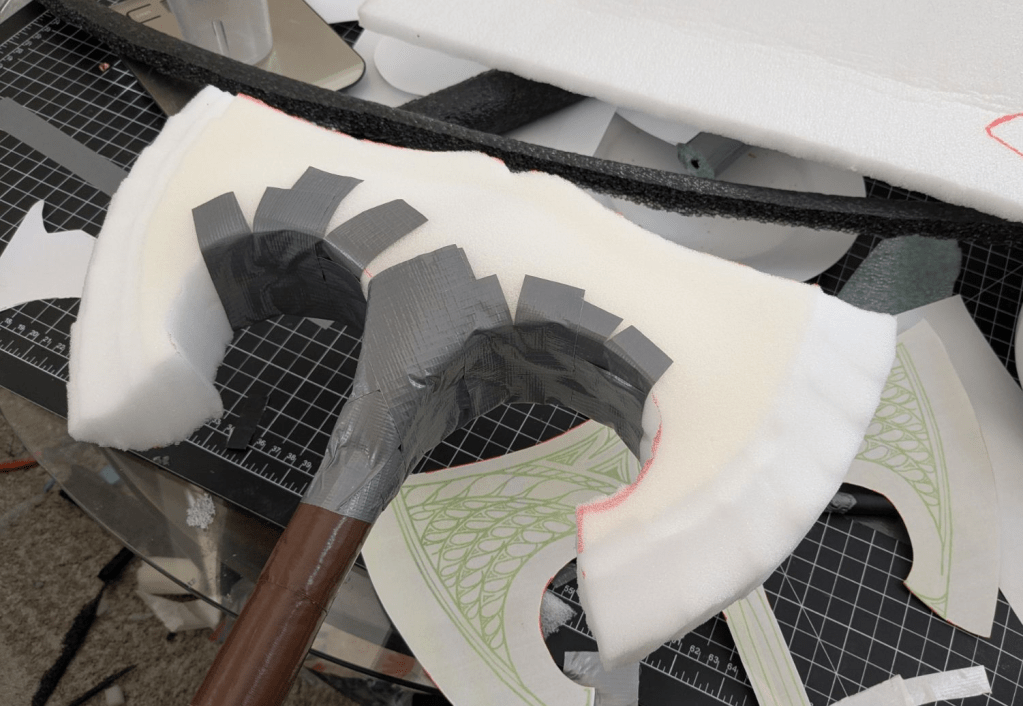
I cut a slot along the bottom of the open-cell foam, hollowed it a bit around the haft, and fit entire thing around the closed-cell foam anchor, taping it to the closed-cell foam along the bottom.
Another step that doesn’t show up in the photos: I also used a thin sheet of packing foam along all parts of the open-cell foam that are within a few inches of the striking edge, so that the foam doesn’t make the tape pinch. This is as described in my Composite Foam Crafting guide. For the more basic axe above, this didn’t seem to be necessary.
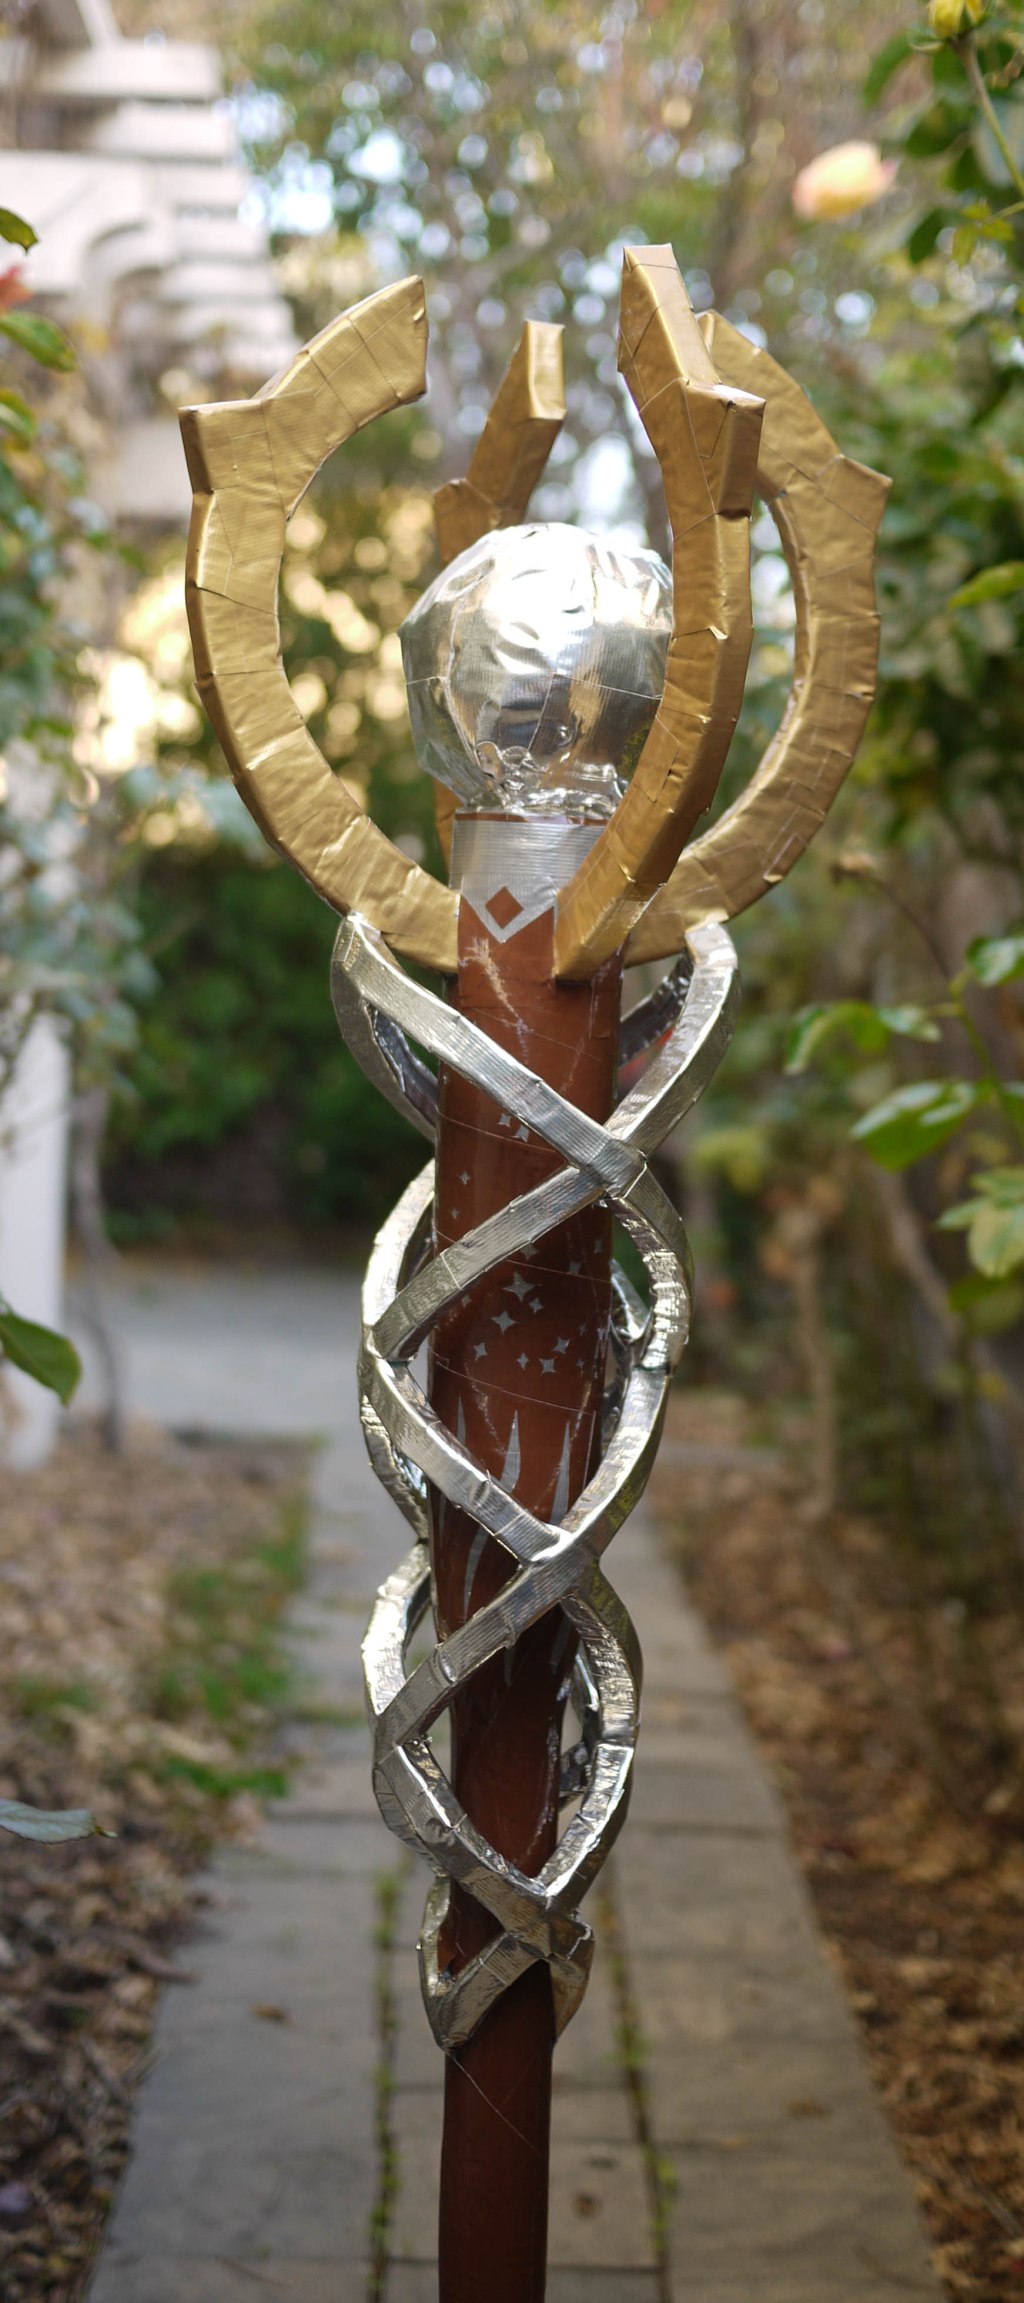
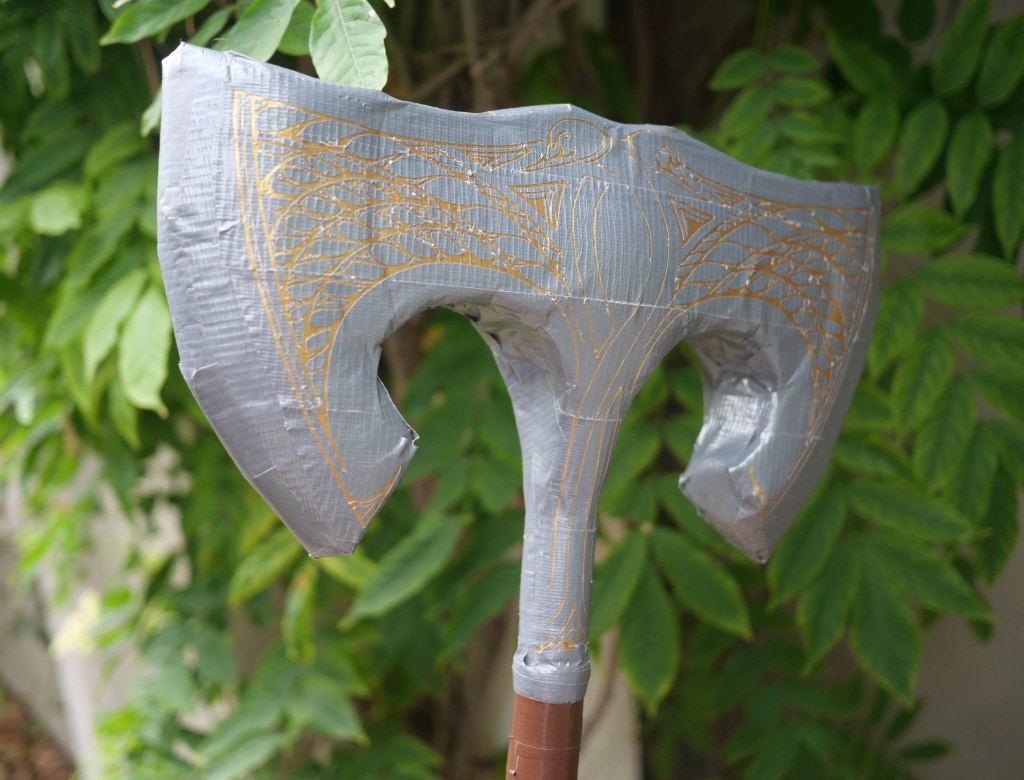
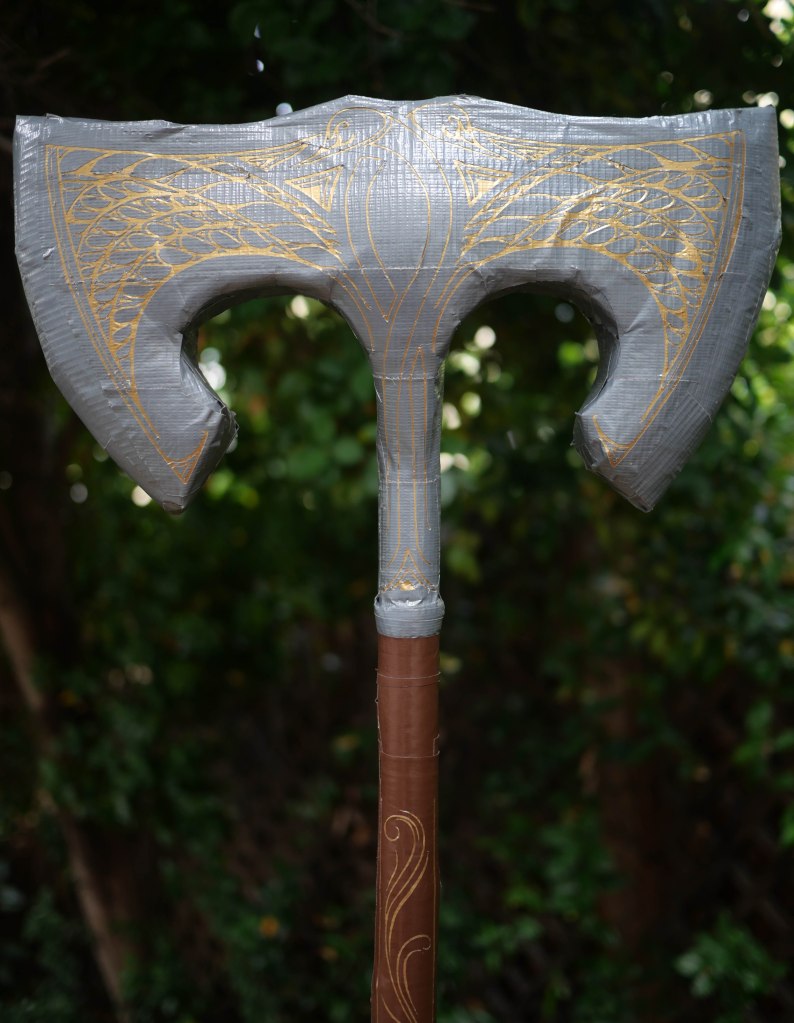
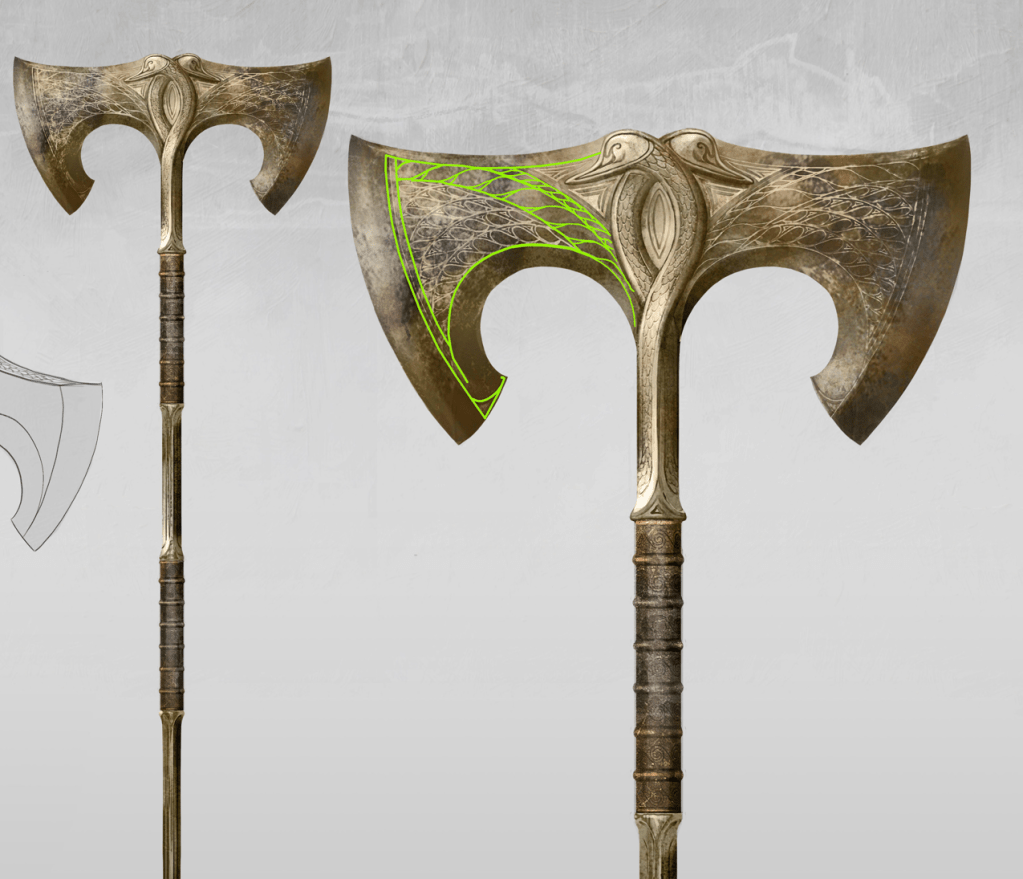
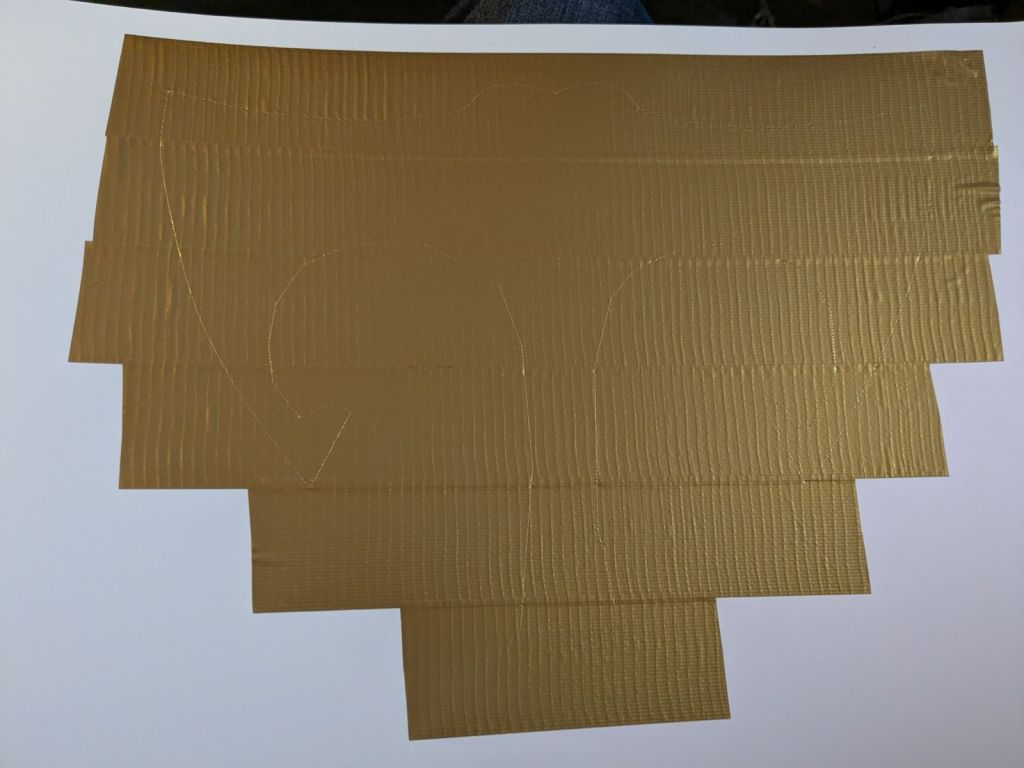
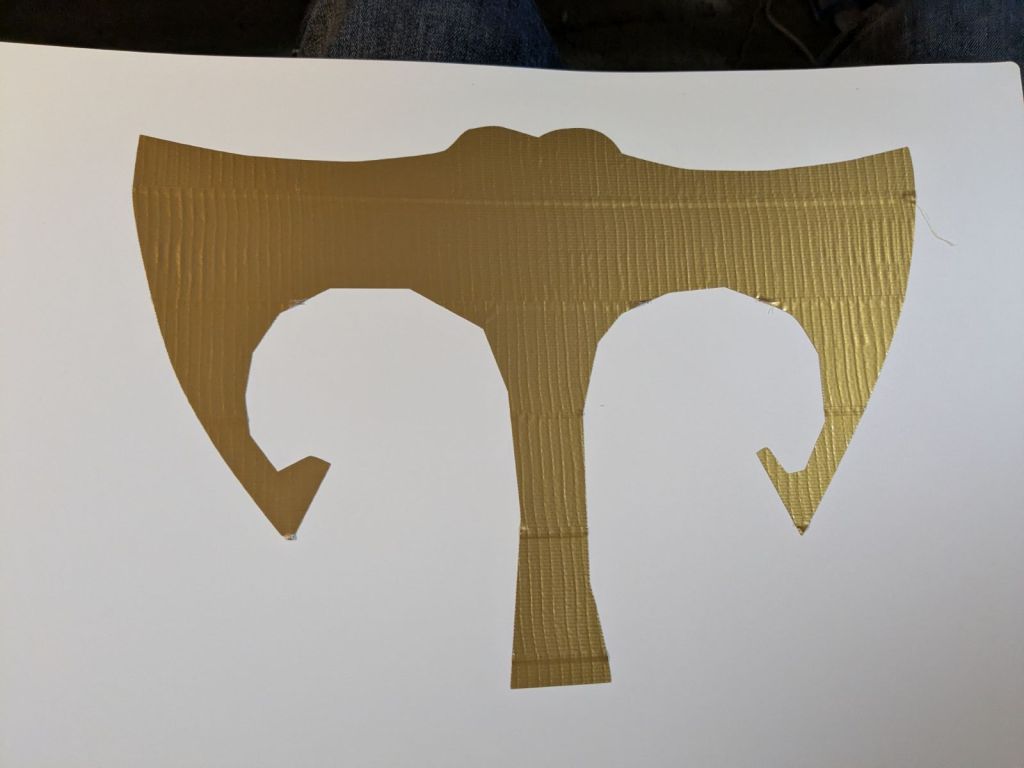
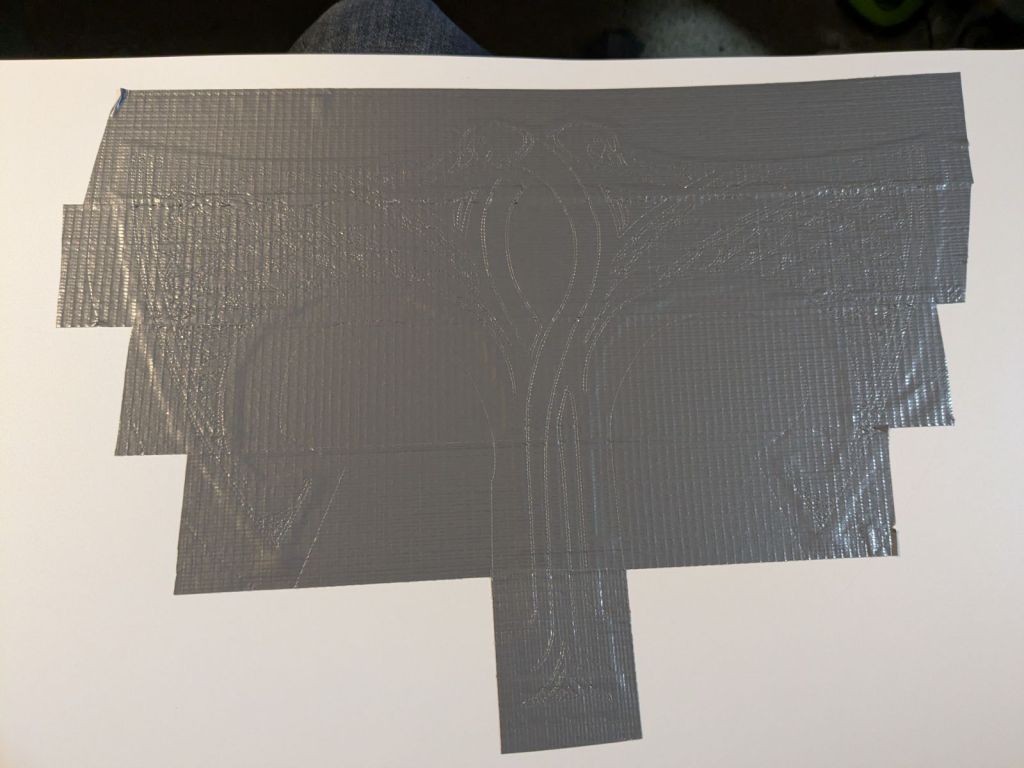
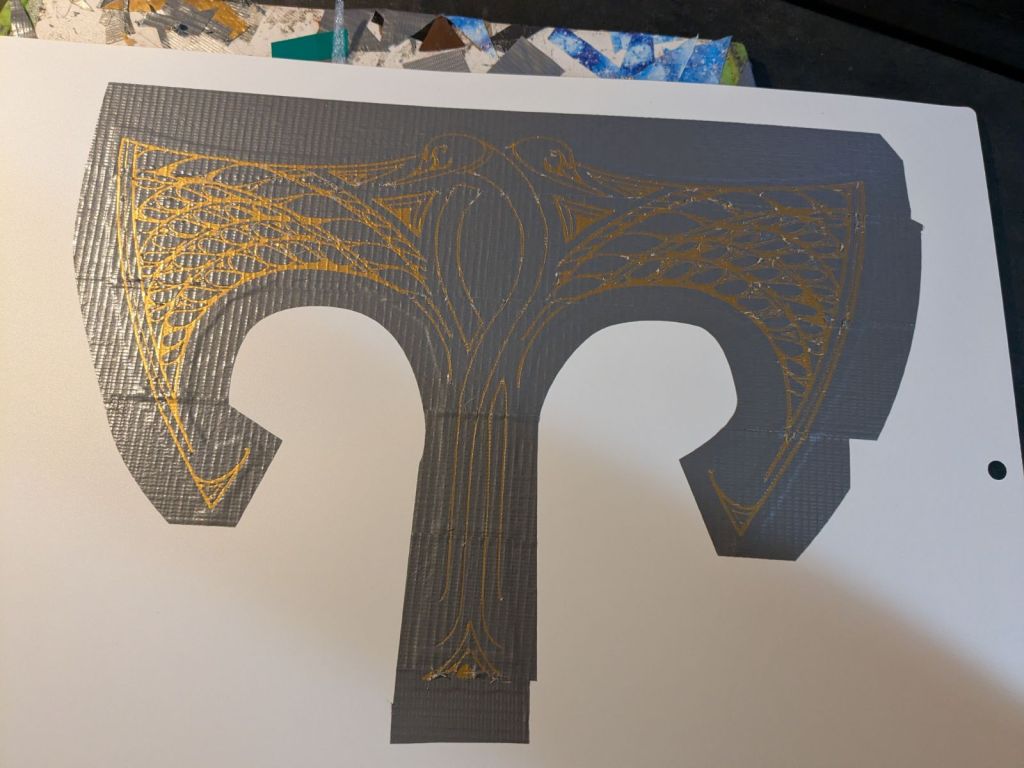
The inlay was complicated. I based it on a design from the Rings of Power series, which Wētā Workshop provided props for. I haven’t actually watched the series, but Wētā does such good work that I sometimes look at their designs for inspiration. I traced over the design digitally (with a some modifications and decisions about how to transform it into a cut), vectorized it in Inkscape, plugged that into the Cricut software to cut it out of the duct tape, then painstakingly removed all the cut pieces.
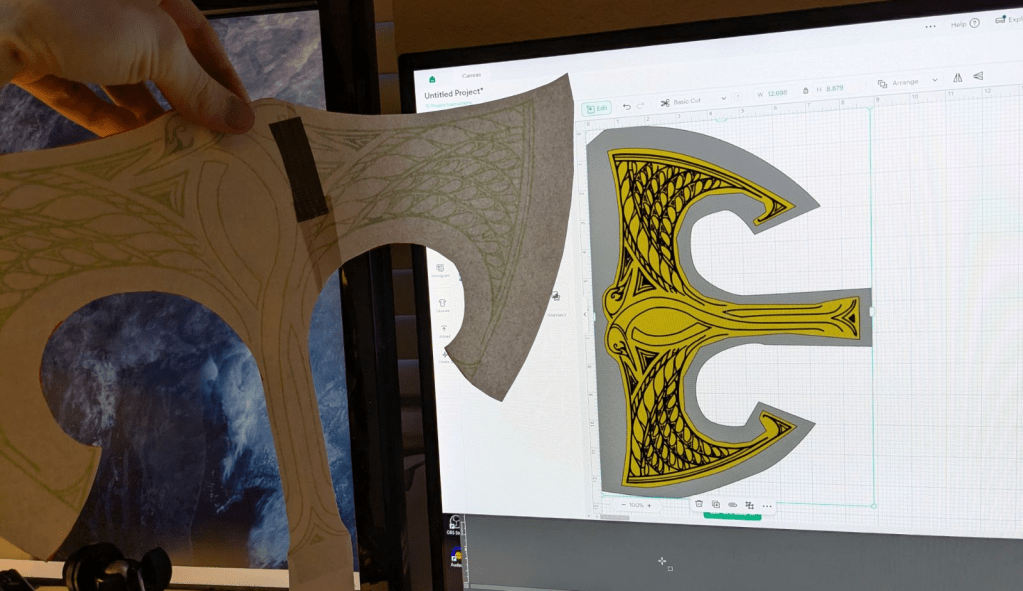
There’s actually an extra step here that I often do: I have the lower layer of the duct tape be cut first to ensure that it doesn’t extend much past where the inlay would be visible. This ensures that there isn’t a thick double-layer of tape anywhere that’s not necessary.
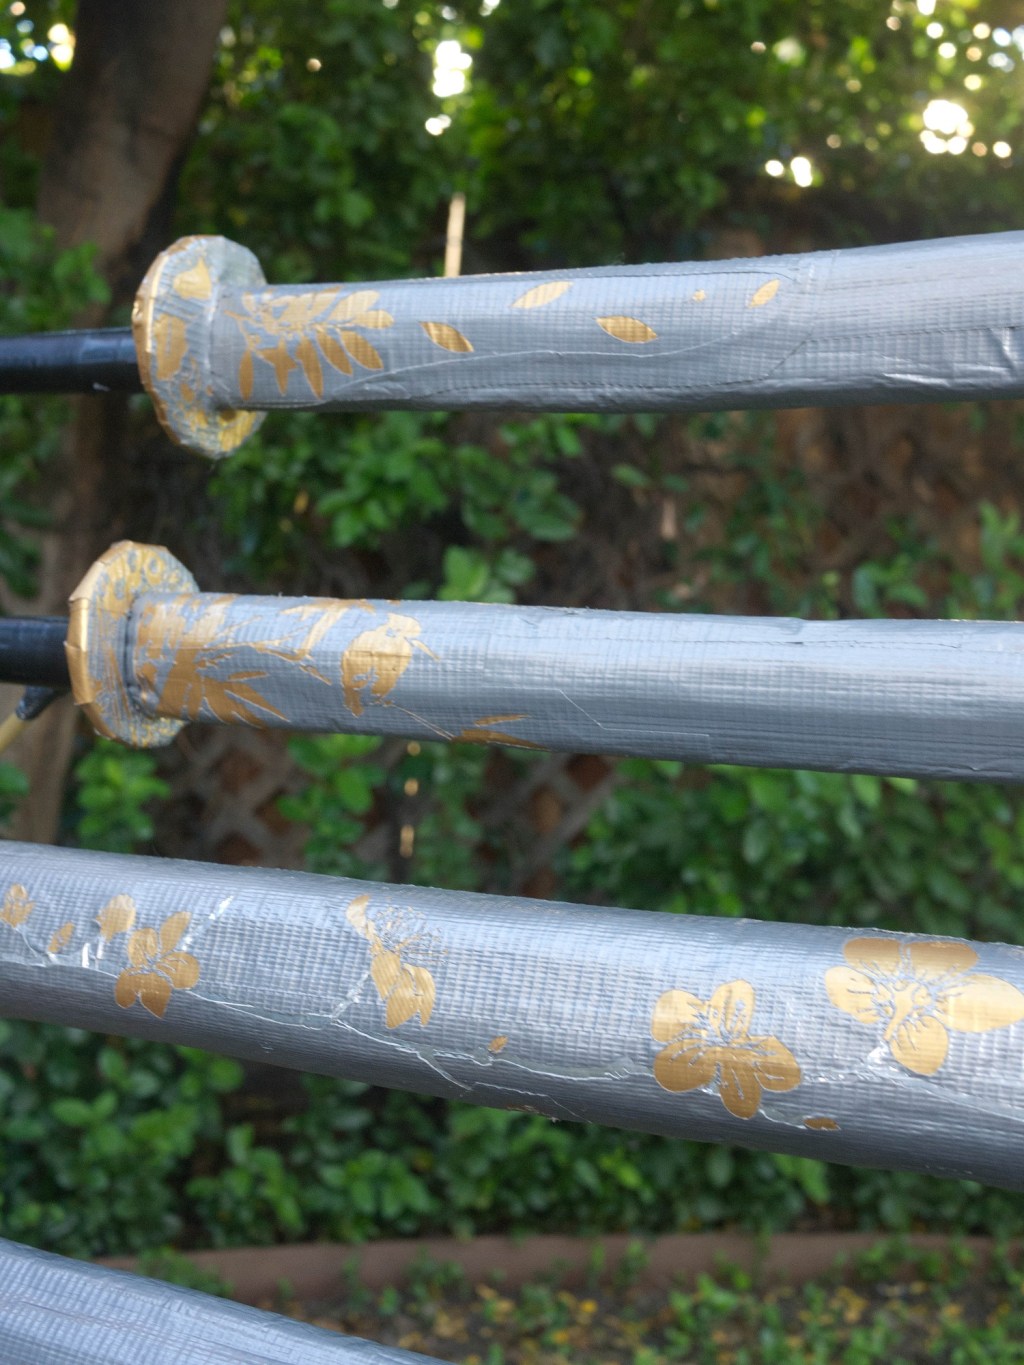
Somewhat entertained by the comparison to earlier versions of impact-class boffers.
Here’s a before-and-after comparison of prior to and after the inclusion of all the inlays. In this case I think it would work either way, but for different purposes.

Thanks for checking out this build process! I hope it’s interesting and/or useful to see some of the steps involved.